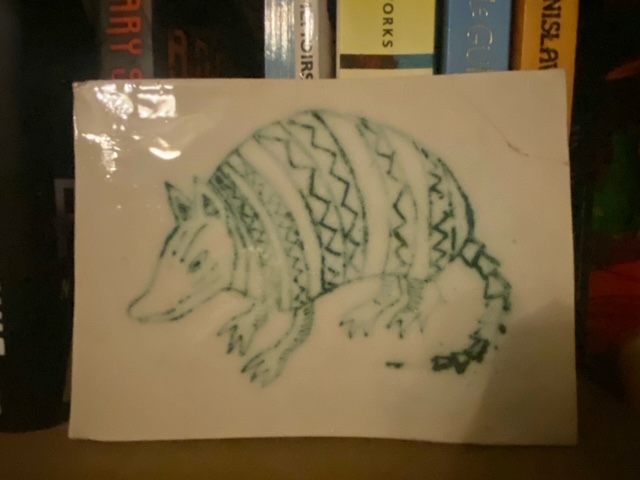
Some people learned languages in lockdown; I watched all the series of the Great Pottery Throw Down. And in 2021, I went to my first pottery class since school. One of the things I learned was printing on clay. See here a printed armadillo tile in honour of Glasgow 2024!
After learning to make pinch pots, I started joining them together—they became dragon’s eggs with a dragon inside, trying to get out. In this post, I’ll share the step-by-step process of creating your very own dragon’s egg from clay.
First, make two similar-sized pinch pots. Each is made from a small ball of clay (porcelain paper clay, in this case). Press your thumb into the clay and gradually form the pot by turning it in your hand and gently pressing outwards.
Once you have two pots with a similar circumference, rough up the rims and gently push the pots together. Then, use your thumb or a smoothing tool to go over the join.

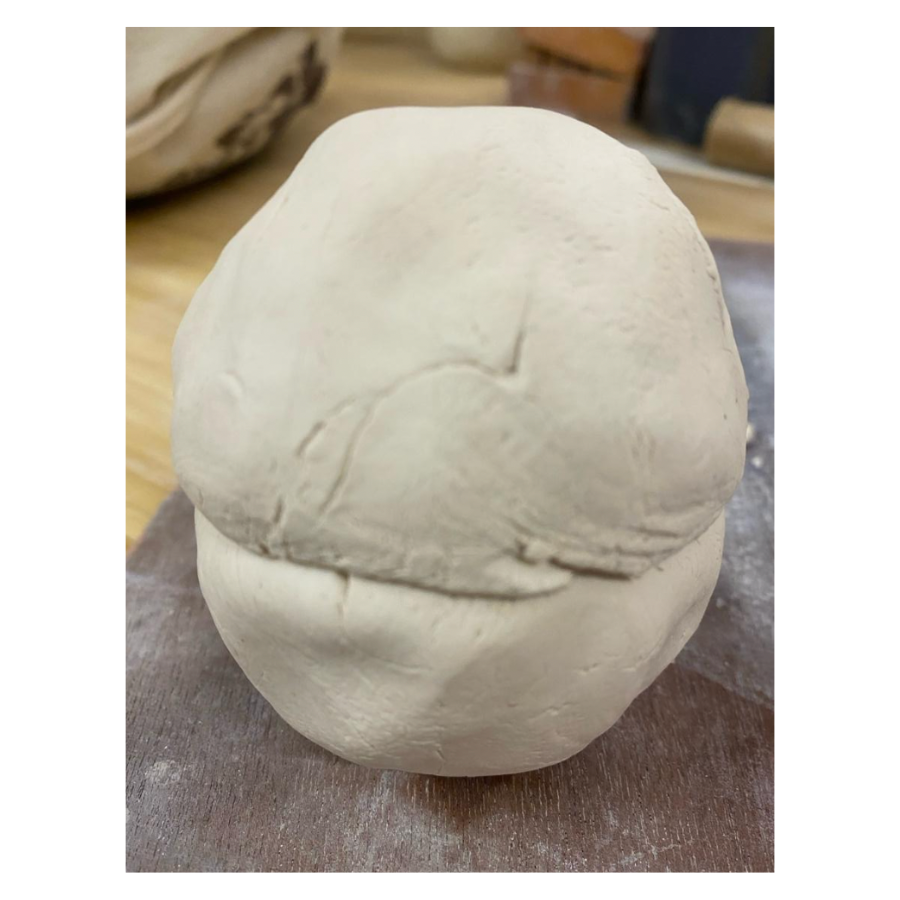
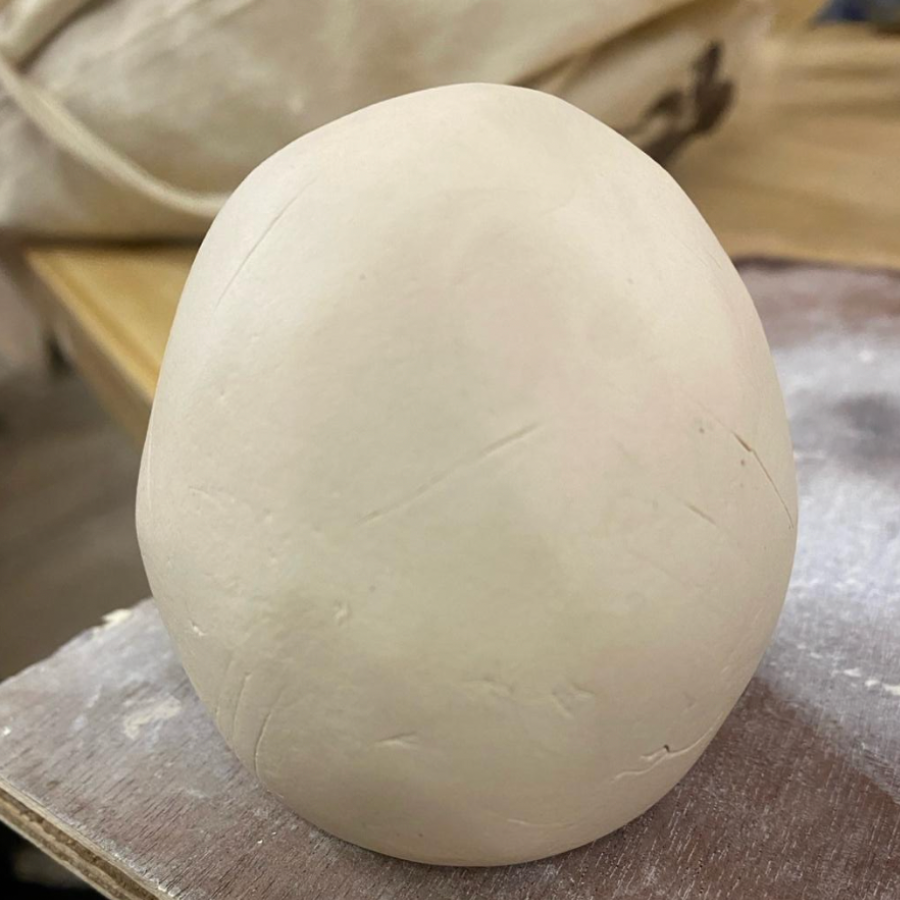
Once the pots are joined, the air bubble inside provides resistance, so you can shape the pot into an egg. I use a small, flat wooden spoon to tap and slap the pot into shape.
Then I leave it wrapped in a plastic bag for a few days to start drying a little so it will hold its shape.
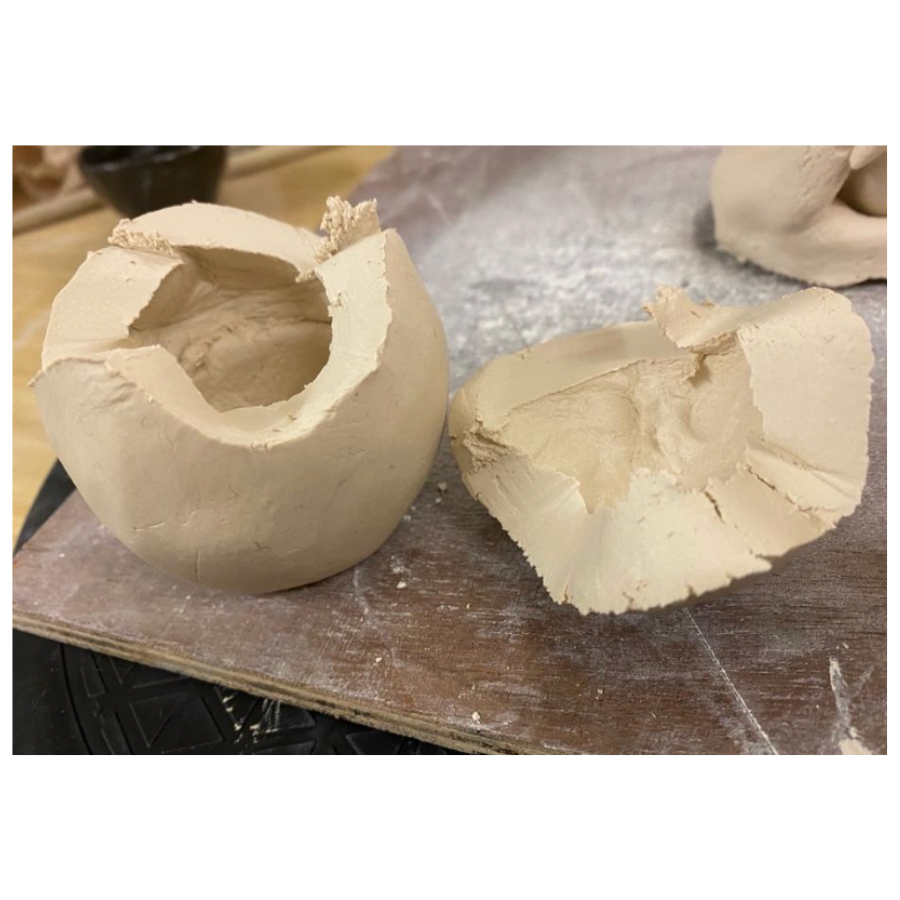
When it comes out of the wrapping, I cut around the egg with a sharp knife to create the broken eggshell effect, pushing the knife right in to make sure all the clay comes off.
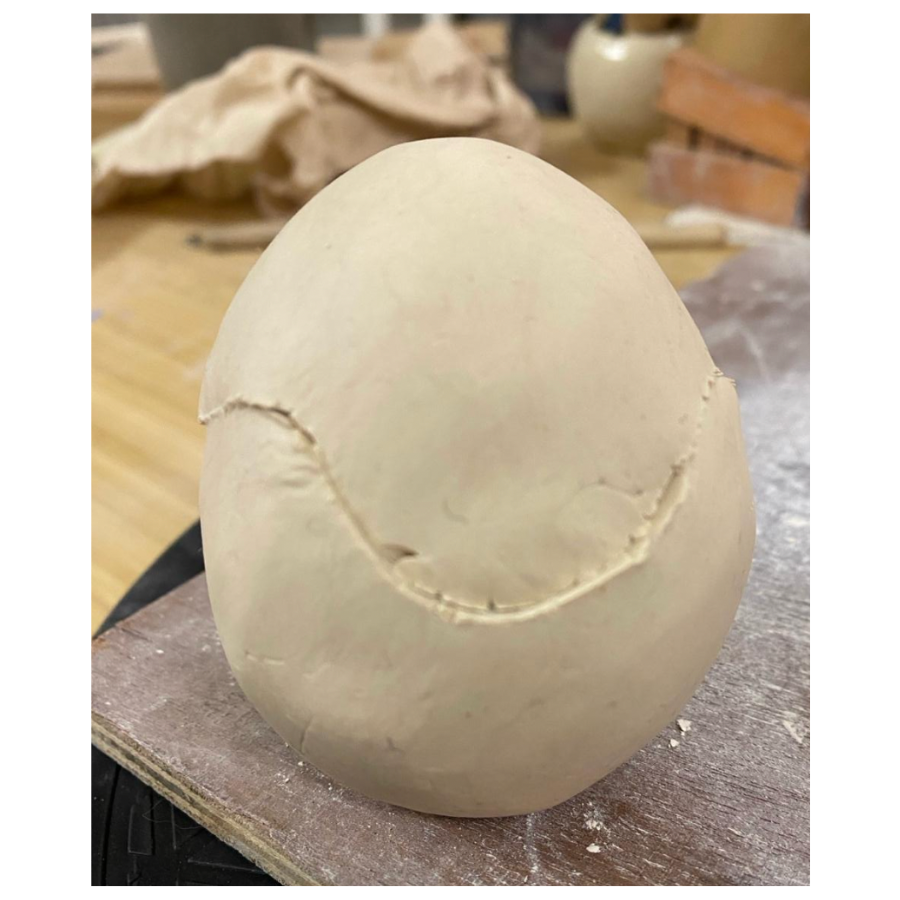
Then, I hollow out the eggshell, being careful not to distort the shape so that the two halves will still fit together—I keep all of the clay I have taken out in a lump together; I’ll use that to make the dragon.
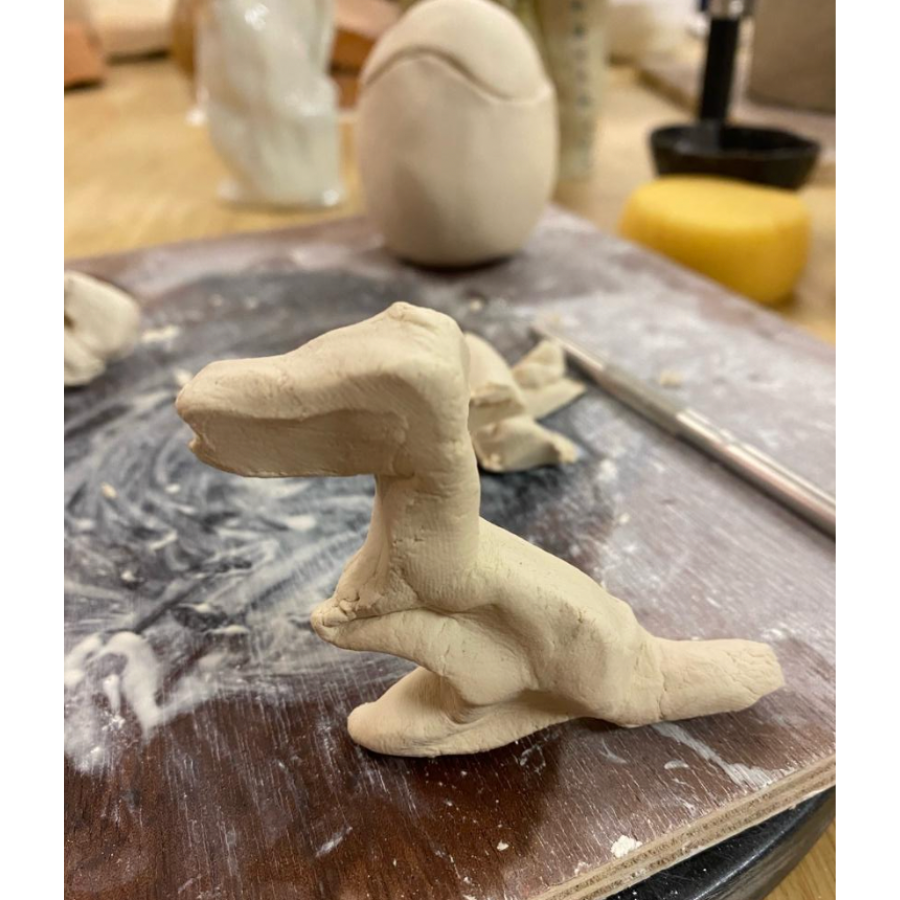
I mould the dragon out of the extracted clay, forming a head and body, and adding legs. Whenever I join one piece of clay to another, I scratch both sides where it will be joined and add a little water before pressing the pieces gently together and using a wooden smoothing tool around the joint. This helps make sure the pieces won’t split apart. Porcelain paper clay is very forgiving: you can join drier and wetter clay without causing problems, which is very useful for this kind of sculpting!
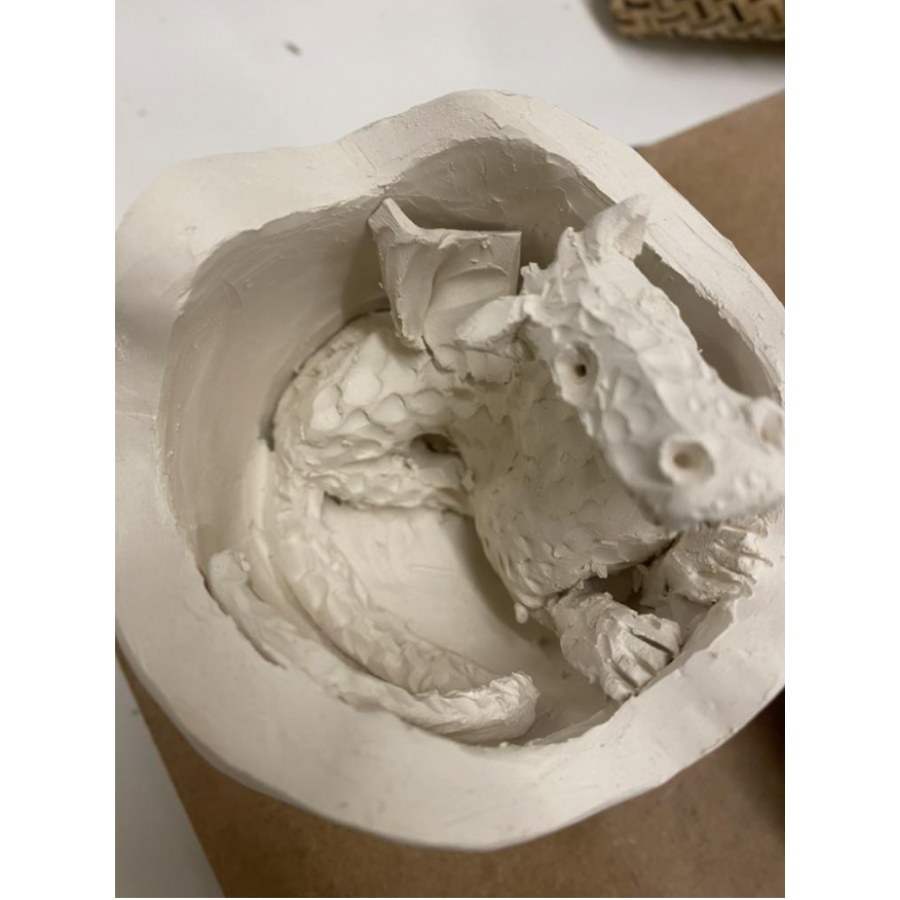
I check on whether the dragon will fit inside the egg, and put the lid on to check that the head will not stick out too far. Then I roll out a long, thin piece of clay for the tail, joining this to the dragon and semi-folded wings. (Most of it will then fold up under the dragon’s body in the eggshell; I mould it so that the tip comes up one side and is visible.)
I use a small wire tool to carve scales into the dragon’s body and a broken-off wooden skewer to make holes for the eyes and nostrils.
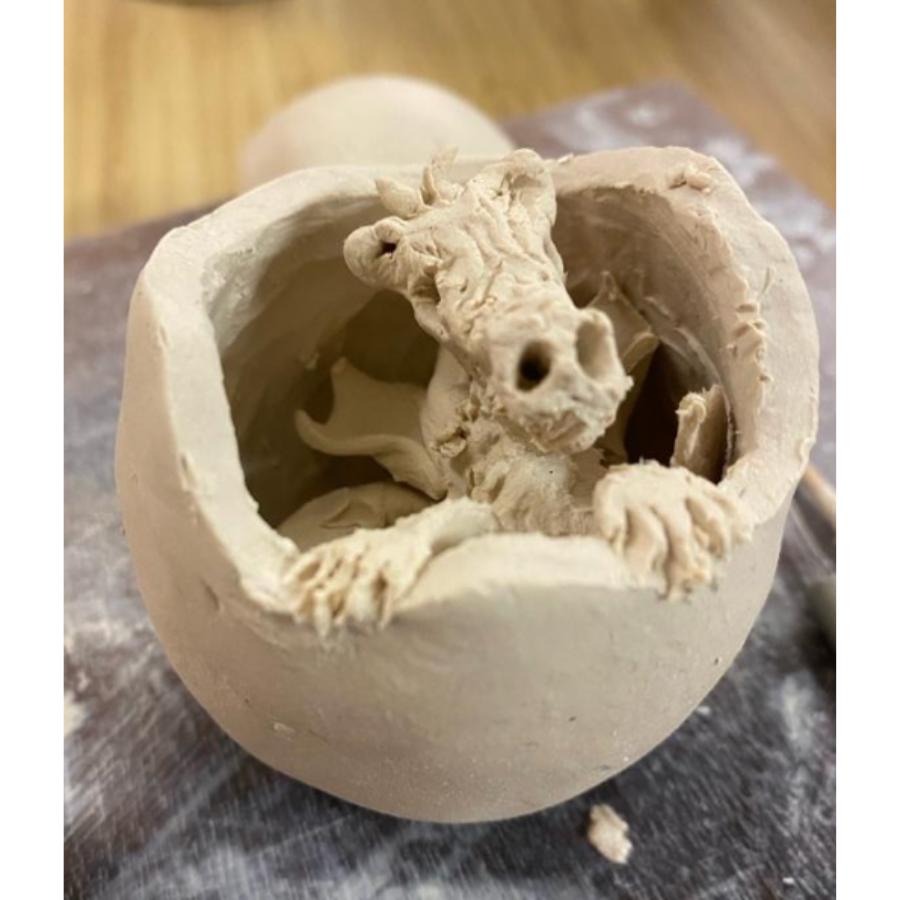
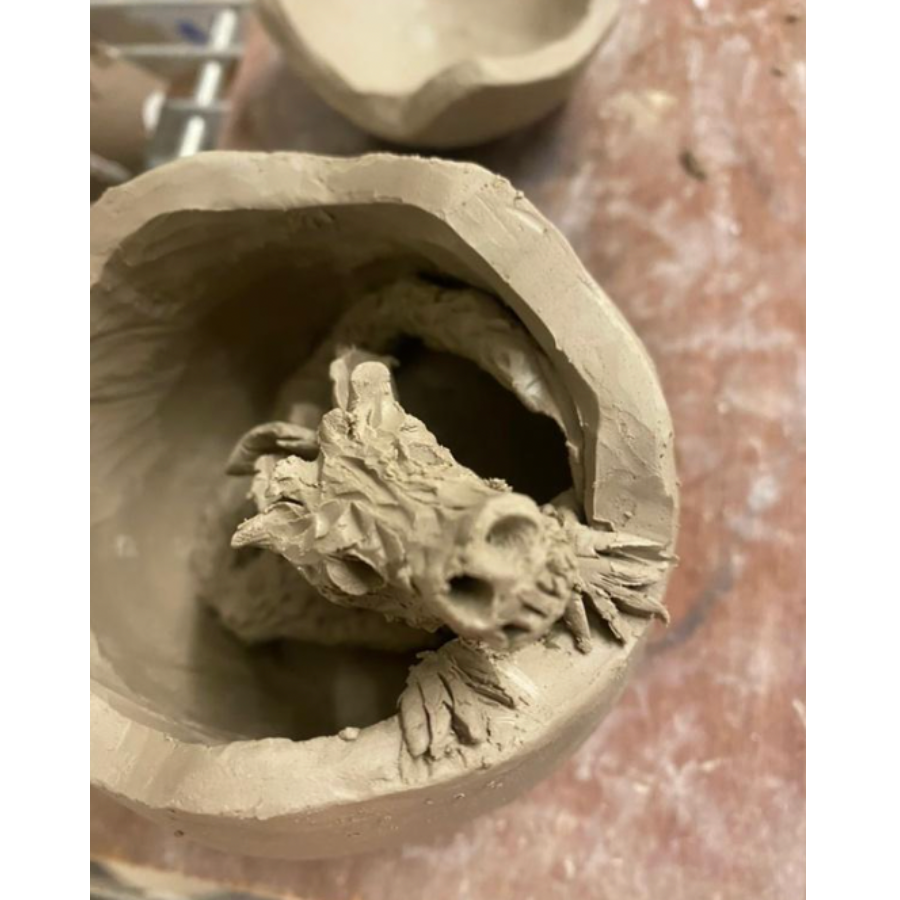
I put the dragon into the egg and gently press it into position. The front legs, carved to show the claws as the dragon tries to get out, are joined to the side of the egg. Then I put the top back on, make sure the outside of the egg is smooth (using a wet finger to get rid of any scratches), and leave it to dry for several days.
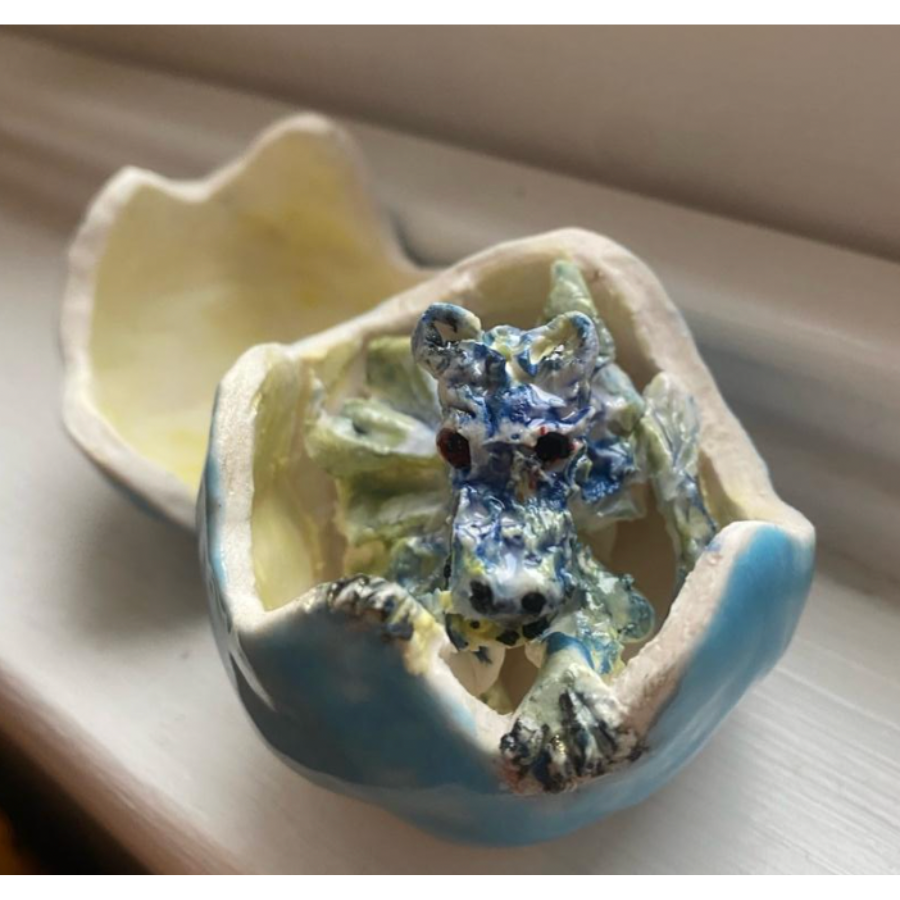
The egg is then bisque fired. When it comes back from the kiln, I paint the dragon and the inside of the shell with underglazes, add transparent brush-on glaze for the dragon, and paint the outside with a different glaze. Then it goes back into the kiln and comes out as an egg, ready to hatch!


I hope you enjoyed seeing the dragon’s eggs from start to finish – do get in touch with us to tell us about your crafty activities as we’d love to showcase these on the blog!
Virginia
Virginia Preston is a member of the Craft Team in Promotions for Glasgow 2024. You can find Virginia @naveyseven on Instagram and by email at virginia.preston@glasgow2024.org
The 82nd Worldcon will take place in Glasgow, August 8–12, 2024. We can’t wait to welcome you to Glasgow and the SEC/Armadillo for a Worldcon for Our Futures.