Hi, I’m Fiona, and I make tiny things!
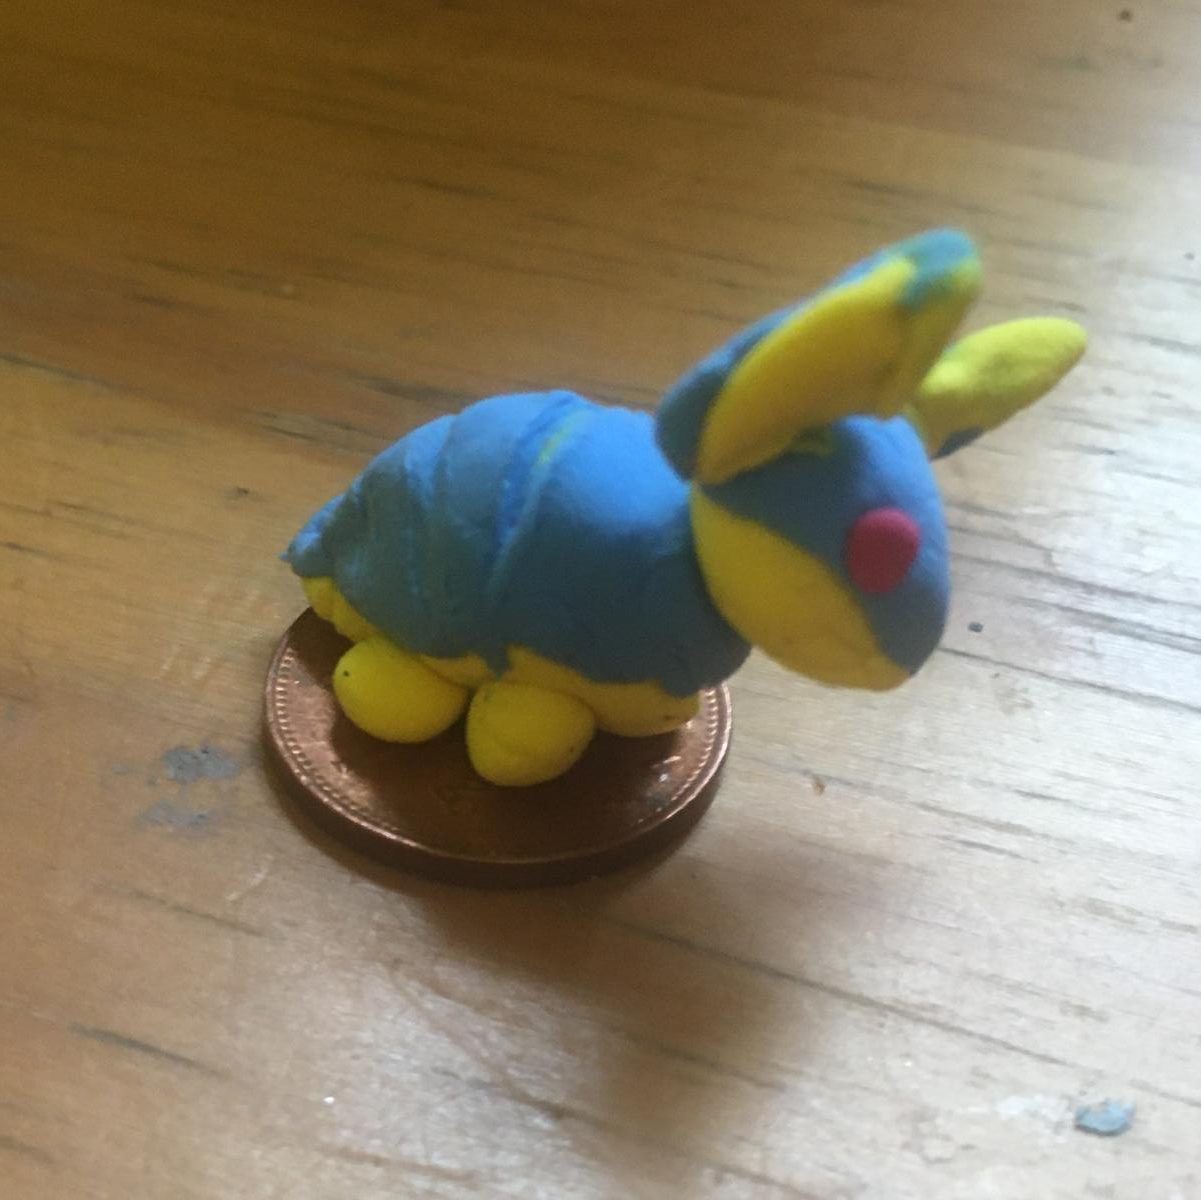
For the Glasgow in 2024 Alphabet of Armadillos, I made a tiny armadillo named Dot out of air-drying polymer clay. In this blog post, I’ll tell you how you can make your own penny-sized armadillo to keep at home or to send out on exciting missions around the world.
Ingredients and Equipment
You’ll need:
- a flexible clay medium: I’m using air-drying polymer clay here, but you could use regular polymer clay that you fire in an oven or any kind of ceramic clay instead. You could even use dough and make a biscuit armadillo! In all cases, I’d advise using a minimum of two contrasting colours. I used blue and yellow, with pink for accents – in this tutorial I will be referring to yellow as colour one and blue as colour two.
- A cutting tool (or more than one), like a kitchen knife.
- A flattening tool, such as a rolling pin or bottle.

Preparation
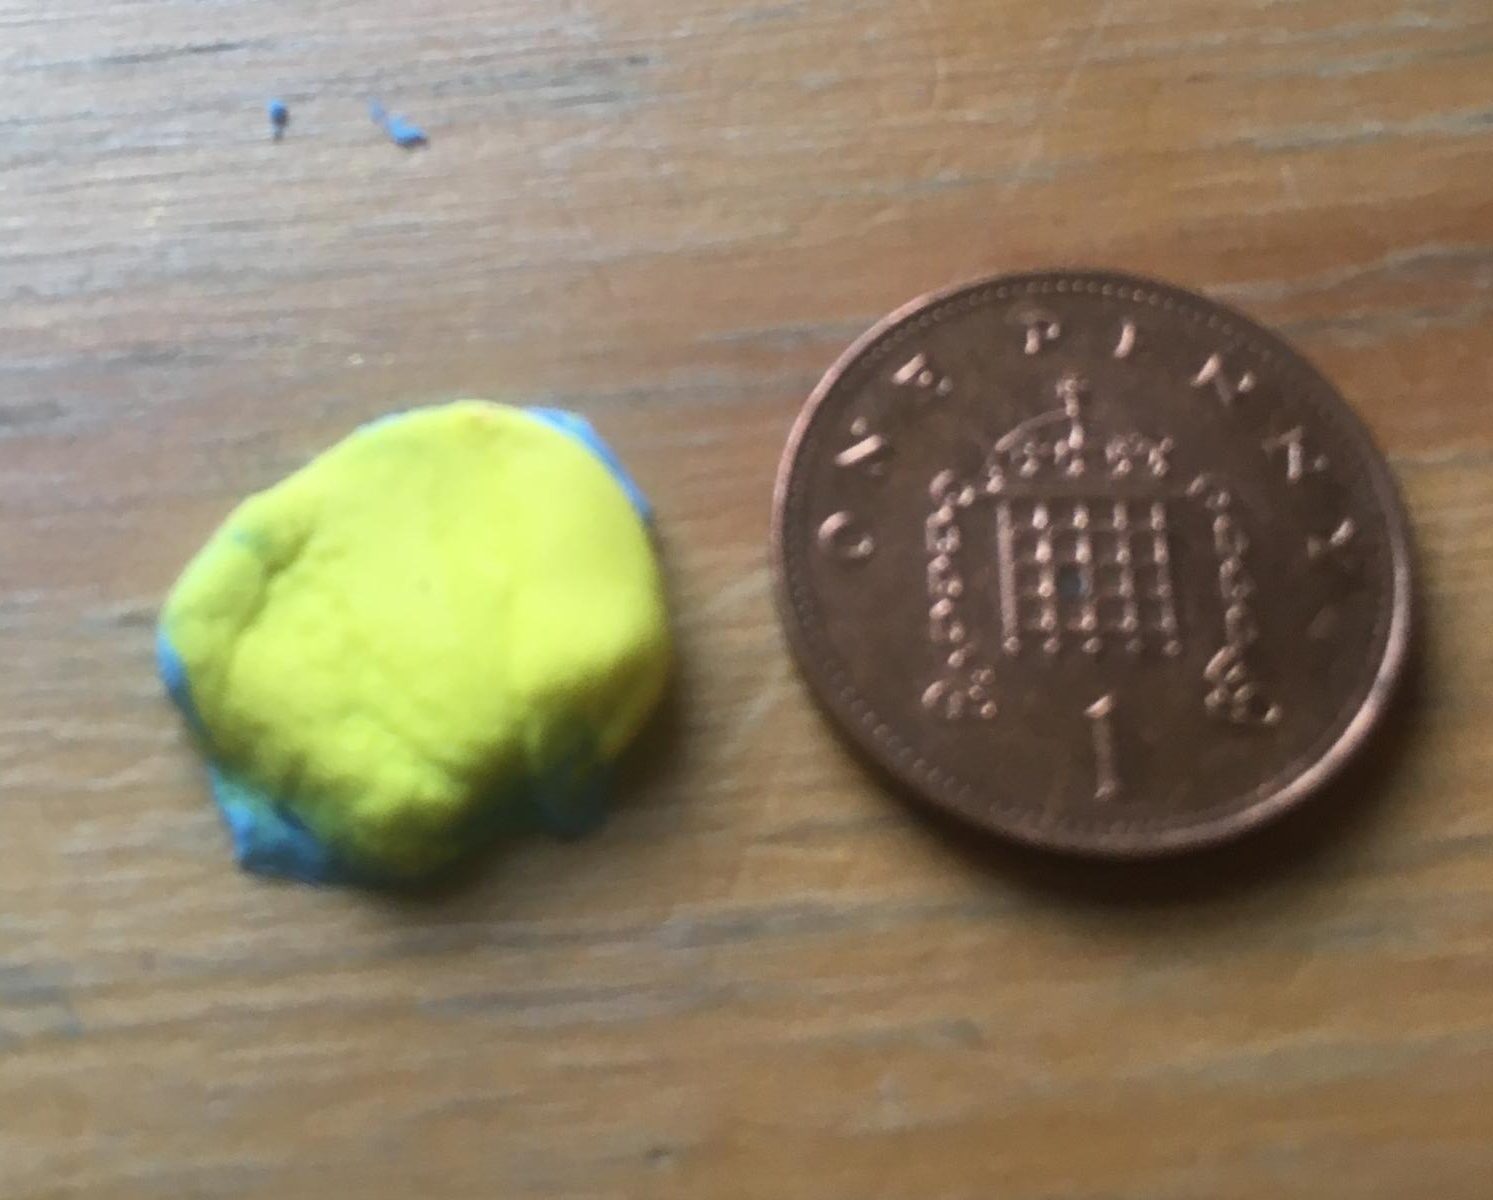
Roll one colour of clay into:
- One large ball (about the size of a penny)
- Two medium-sized balls (about a third the size of the big one)
- Four small balls (about one-eighth the size of the big one)
Roll the second colour of clay into one large ball.
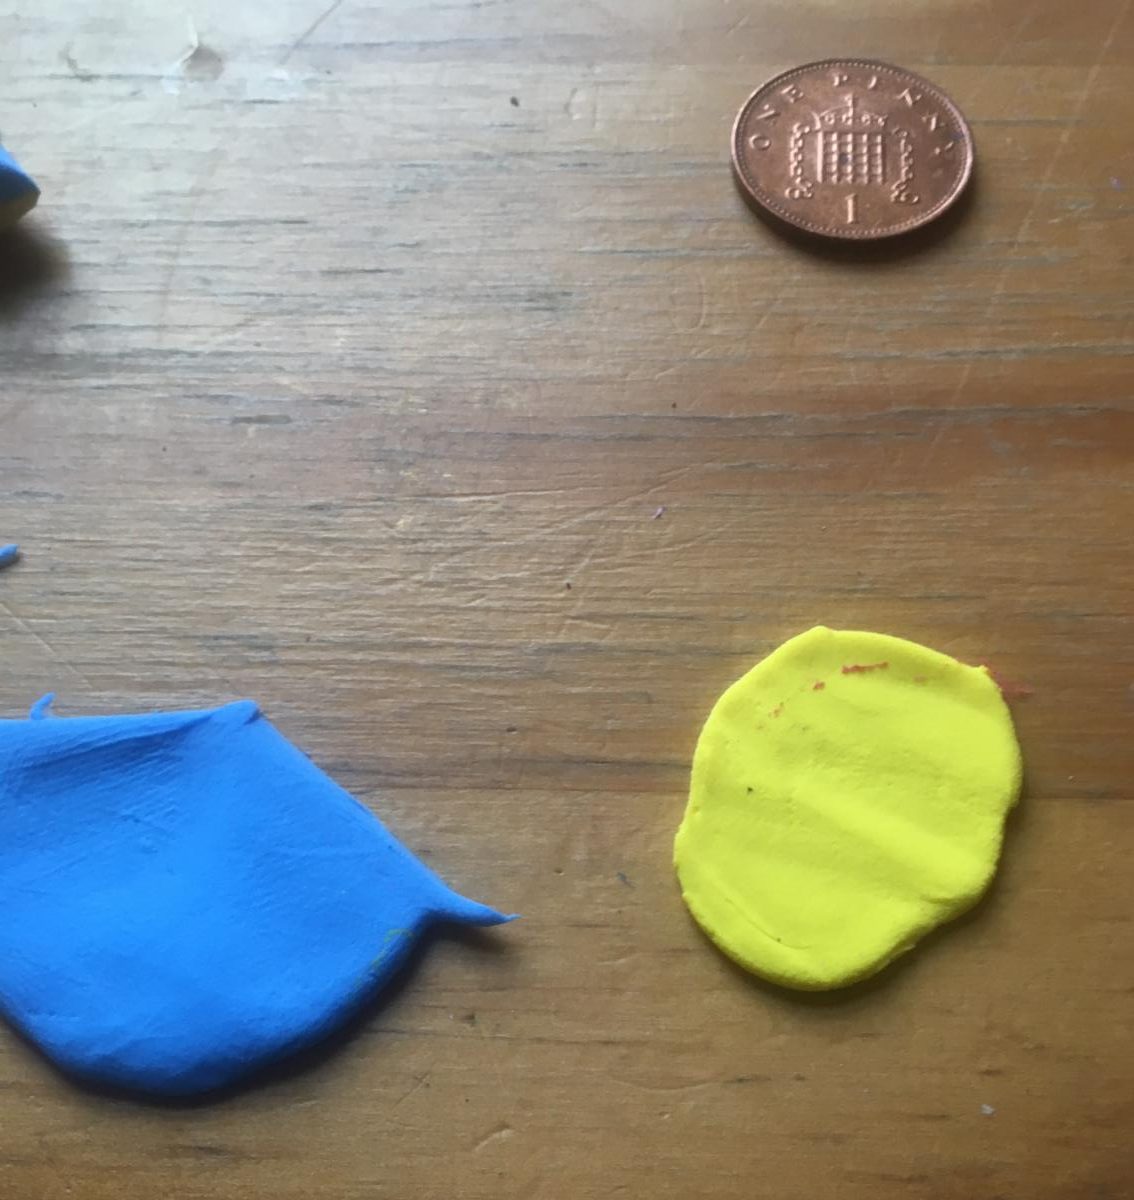
Flatten one of the medium-sized balls of colour one and the large ball of colour two into sheets, so that both are about 2 millimetres thick.
Body

Take the large ball of colour one, and shape it into a teardrop shape. Make sure the tail end is fairly thick and weighty, so it can counterbalance the head. Flatten one side of it slightly.
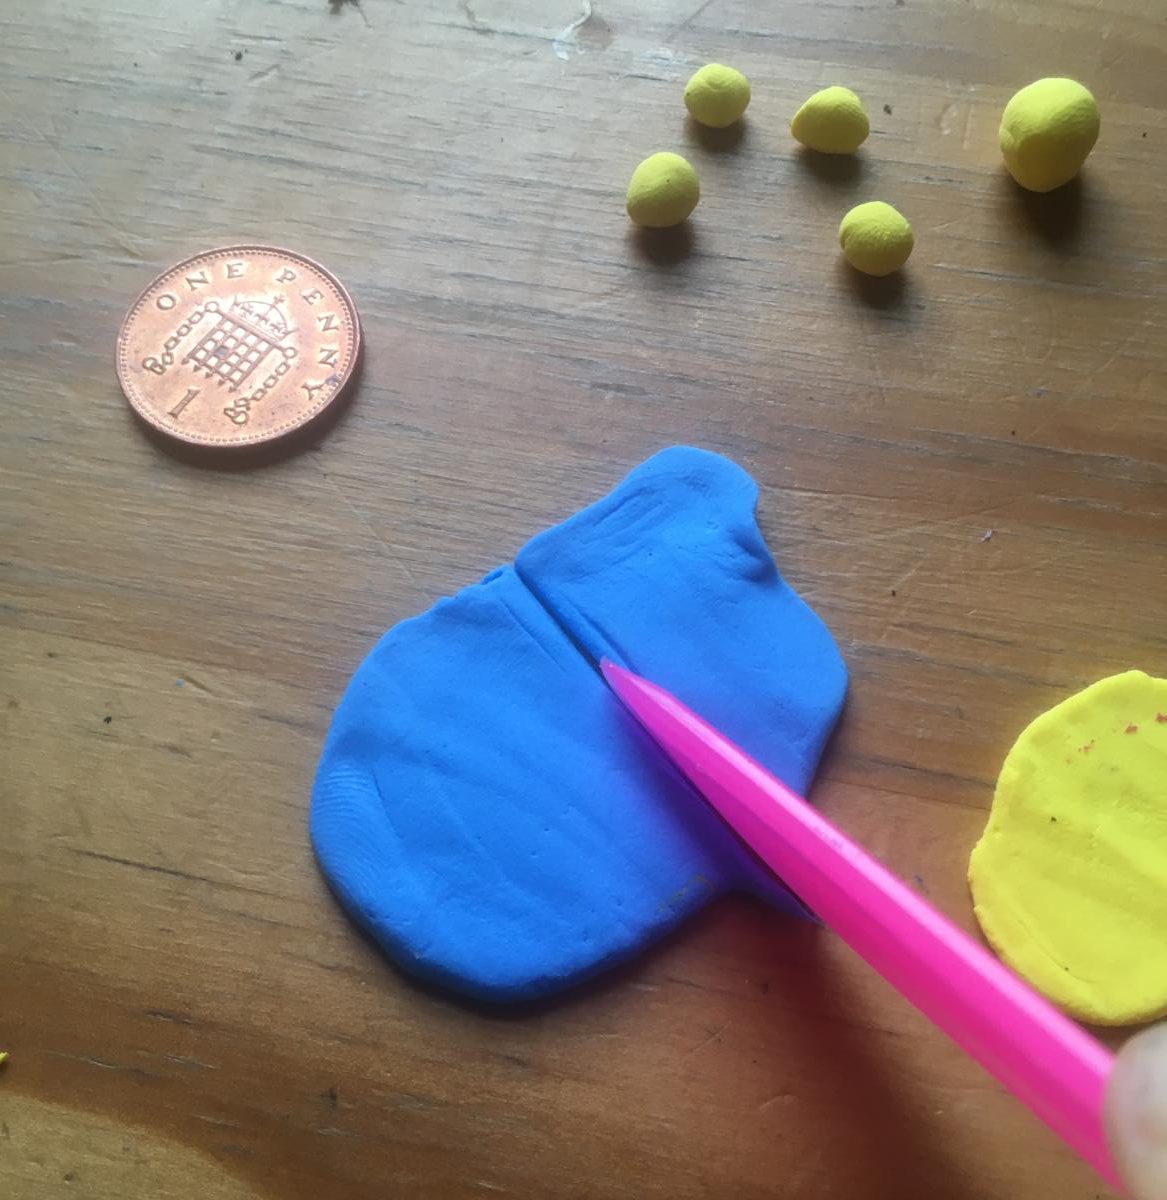
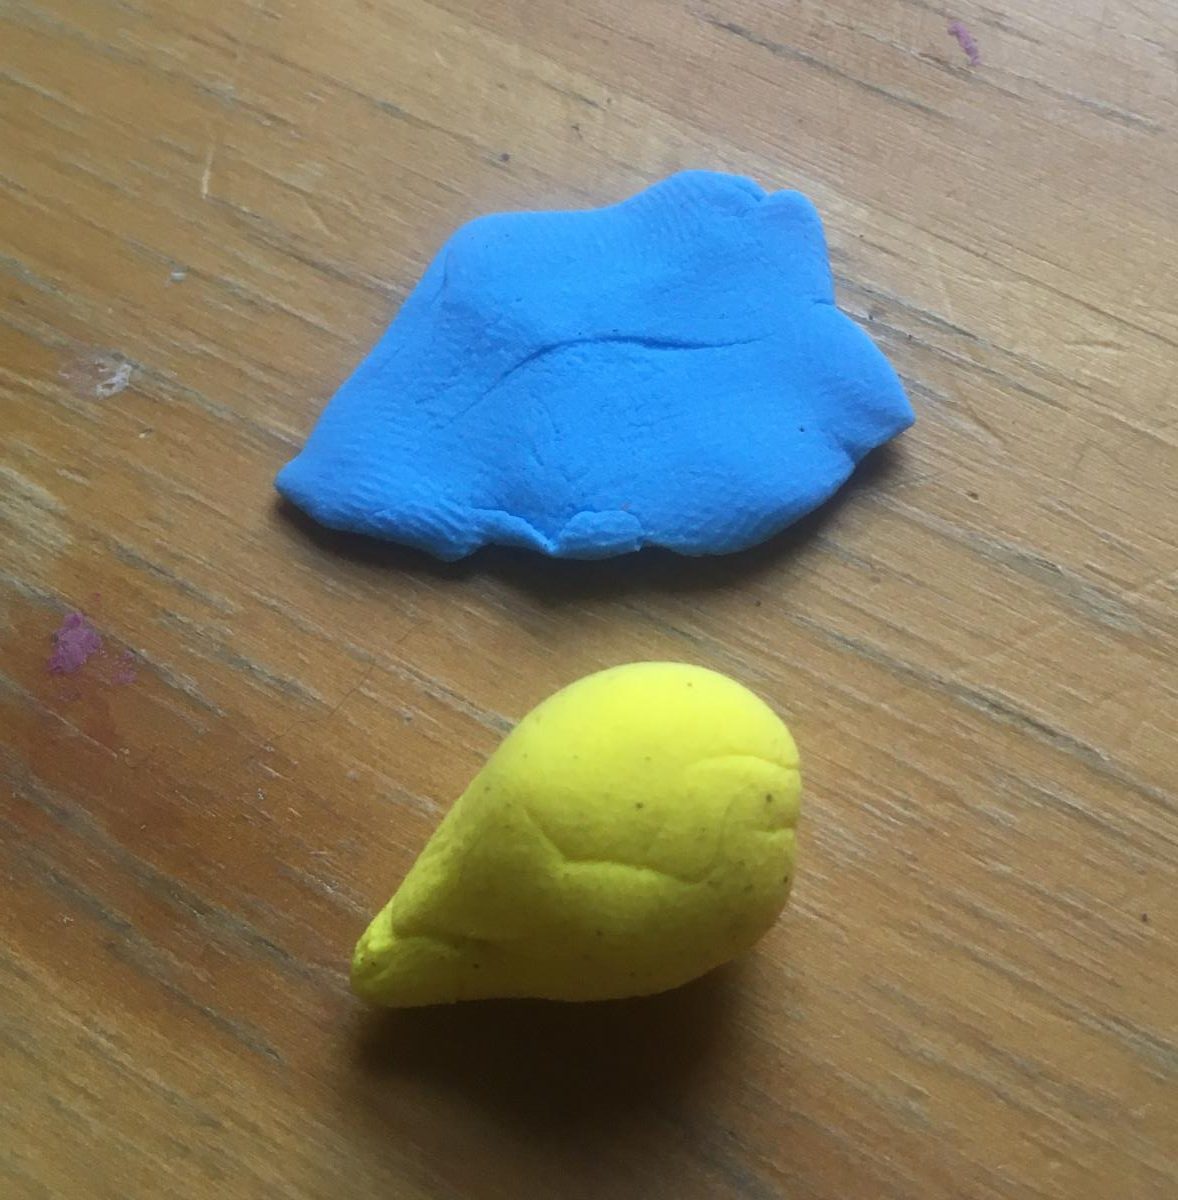

Cut out ¼ of the sheet of colour two, and wrap it around the unflattened side of the large ball as you see in the picture. Smooth it down as you go, but try and leave a clearly defined line between colour one and colour two.

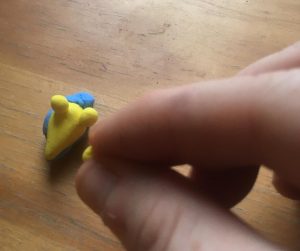
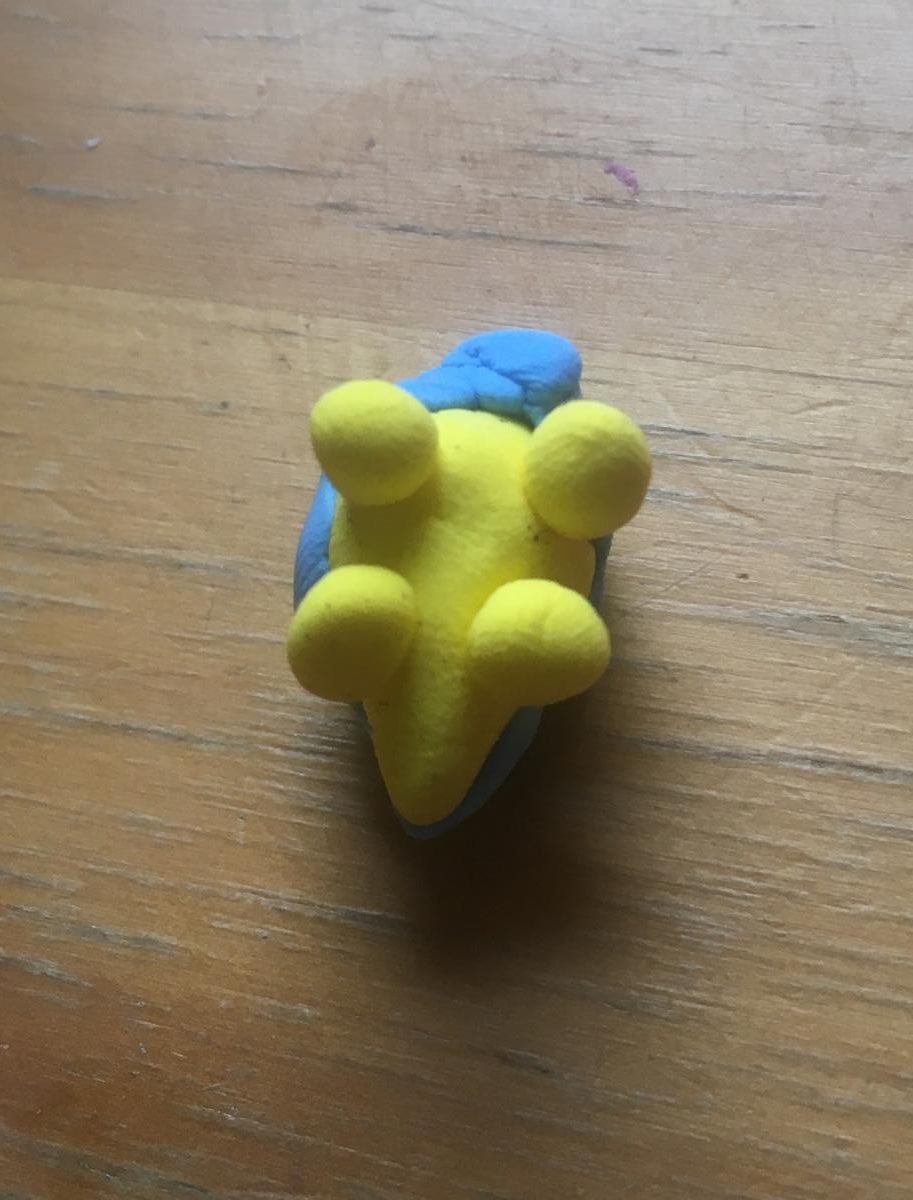
Turn the body over and gently press the four small balls on to the body at the “corners” to attach the legs
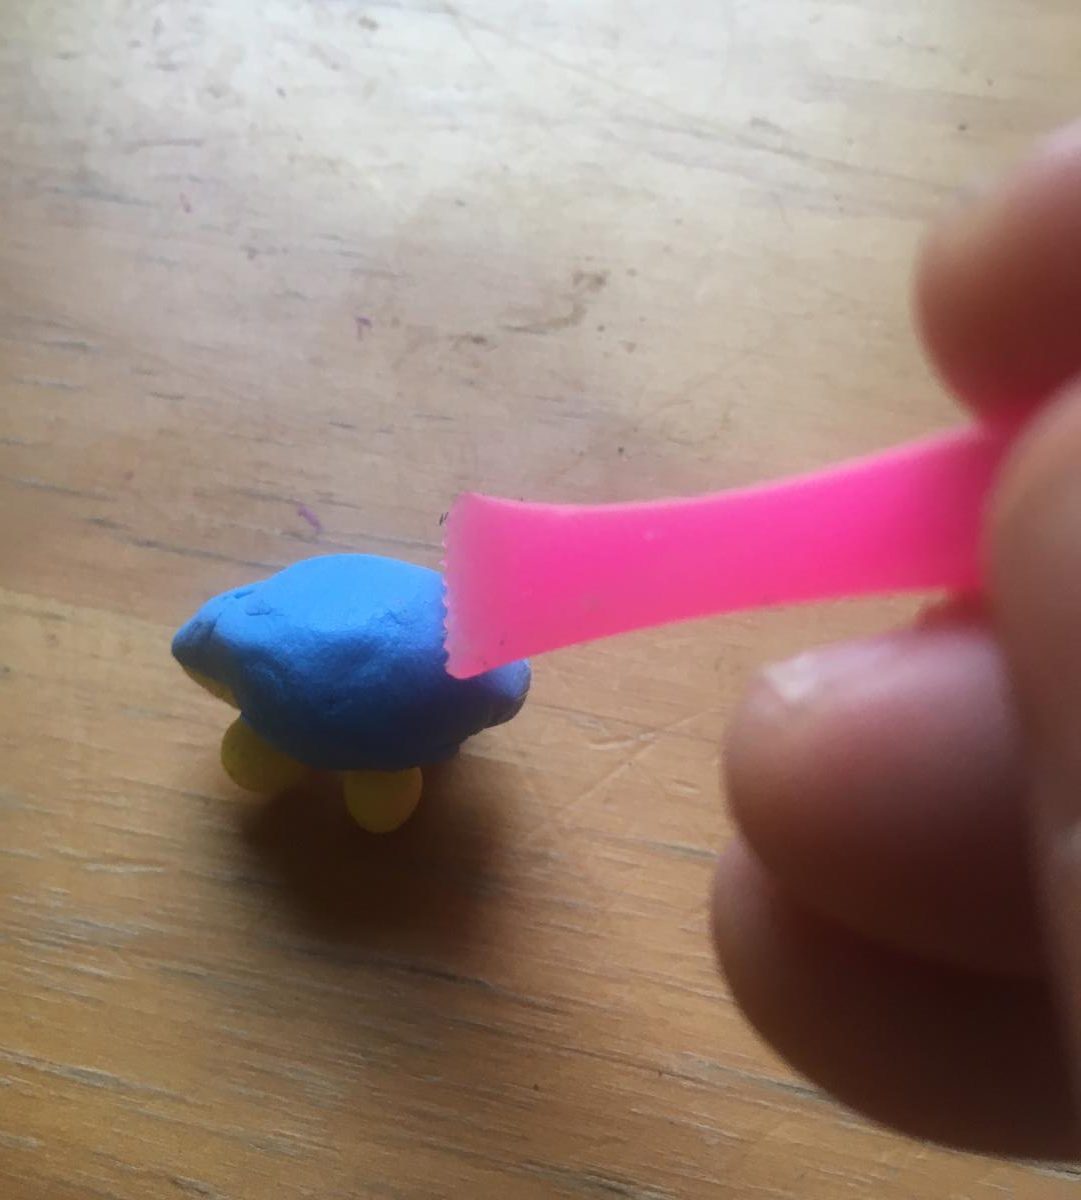
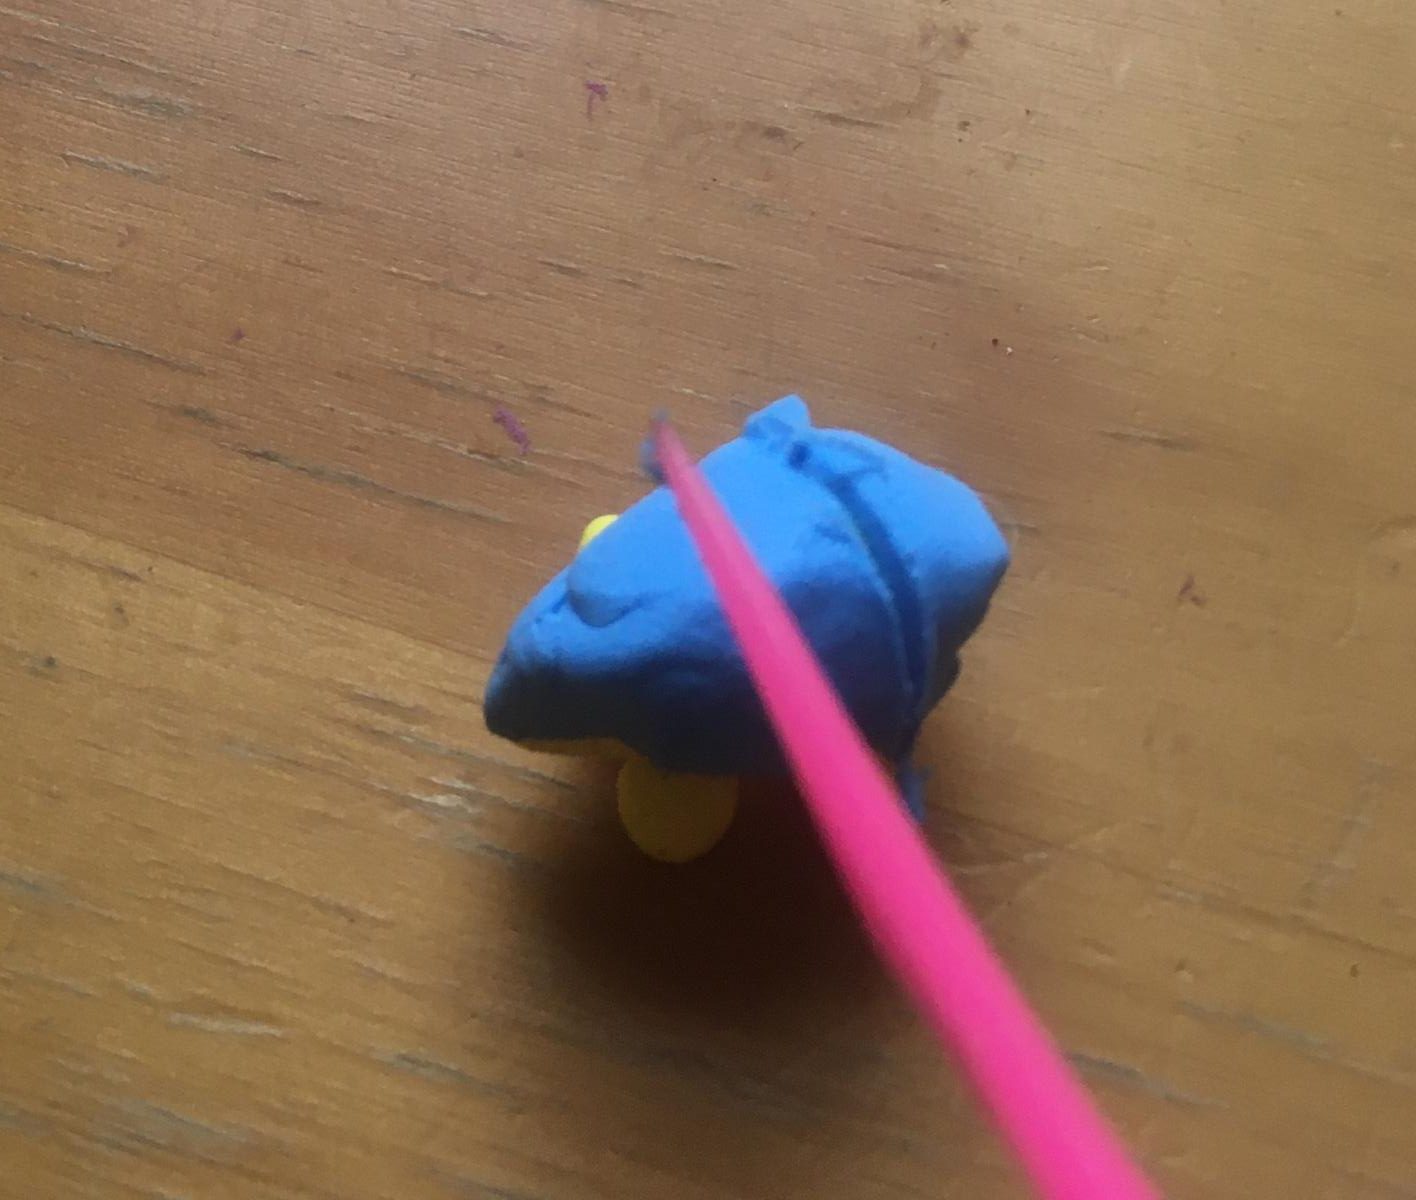
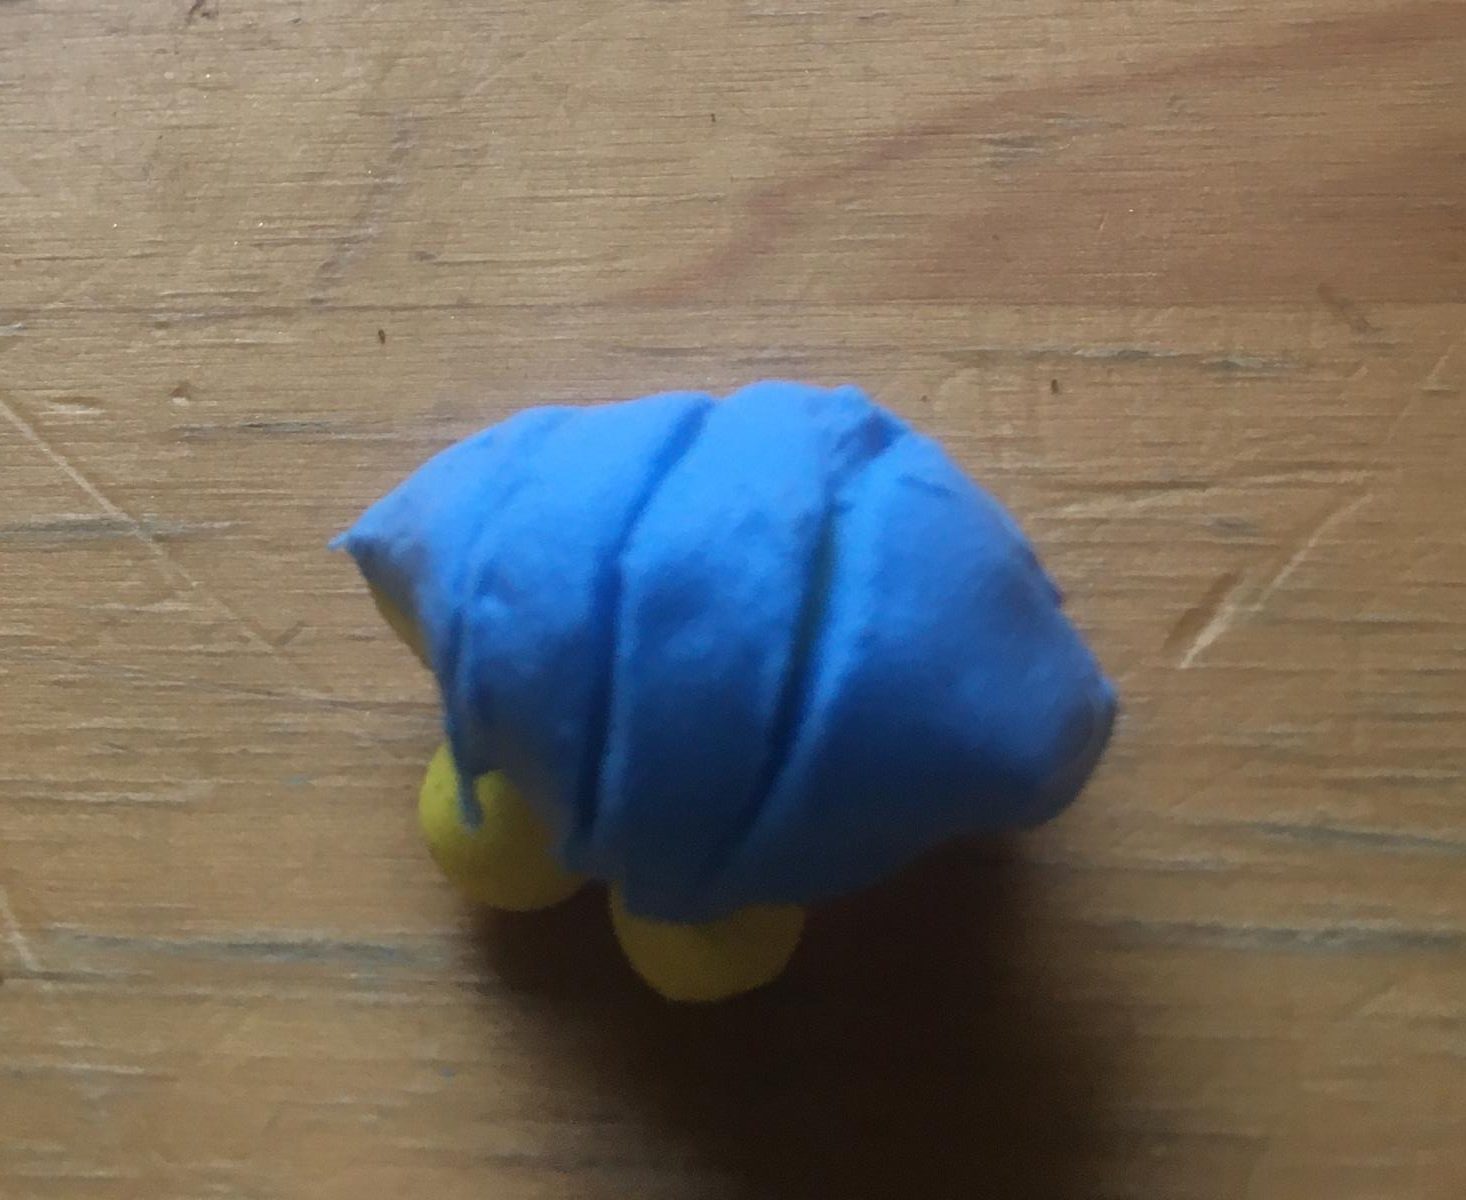
With your cutting tool, score three lines into the colour two wrap. Be gentle and don’t cut so deep that you see the first colour showing through. This will give you the characteristic ridges of the armadillo’s shell.
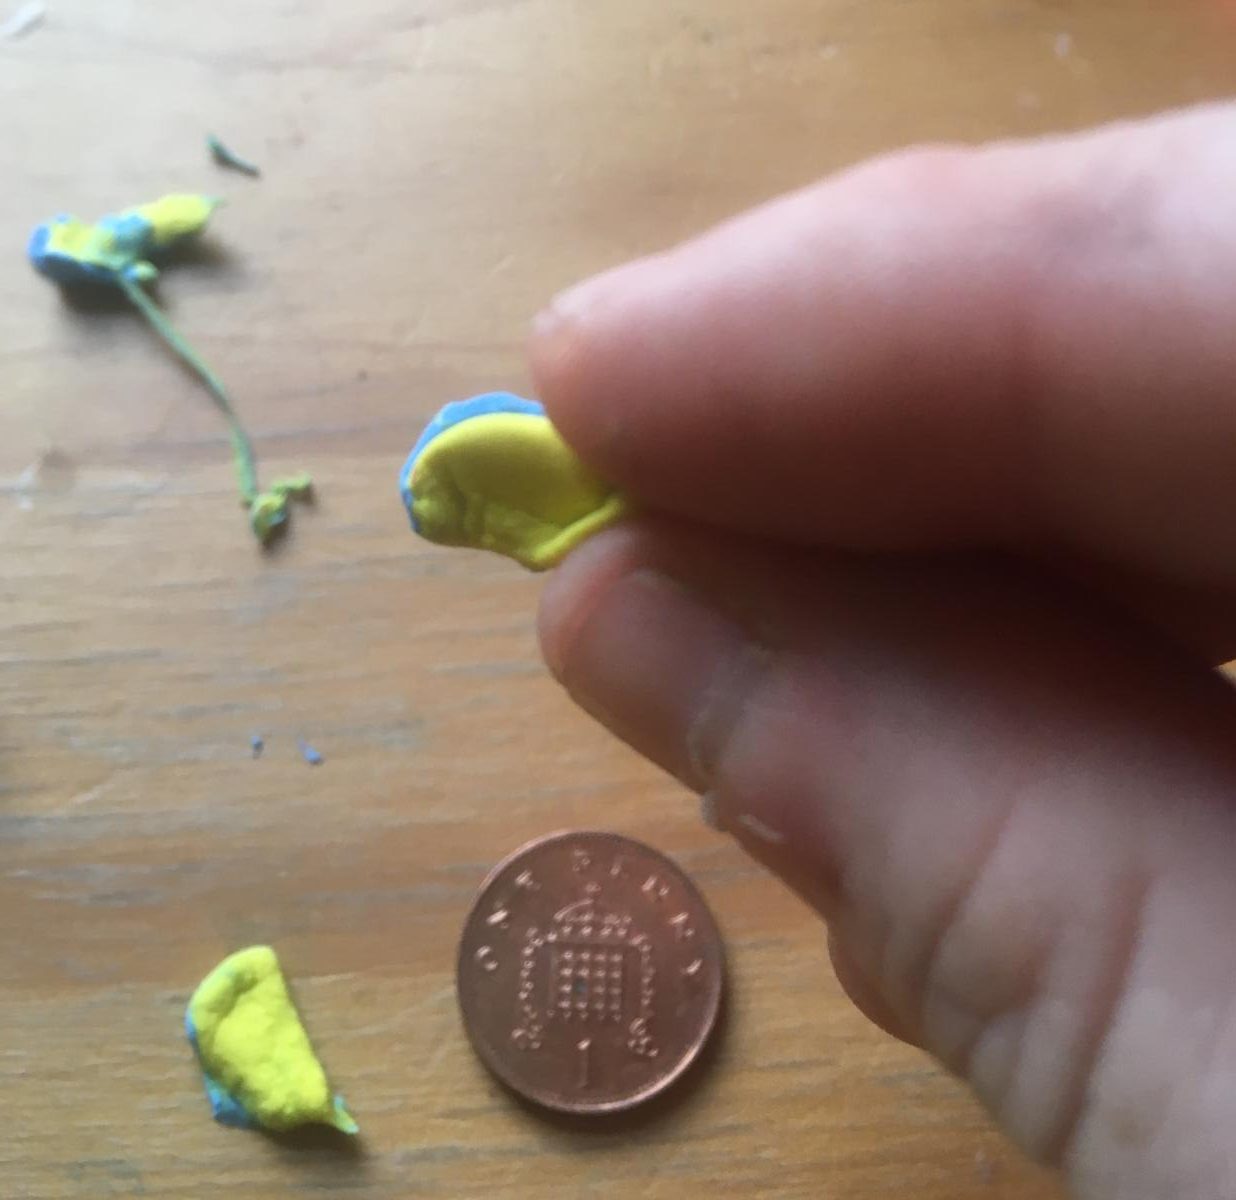
Head
Take the medium-sized ball of colour one and shape it into a teardrop, as with the large ball (only slightly blunter, as you don’t need it to function as a counterweight).

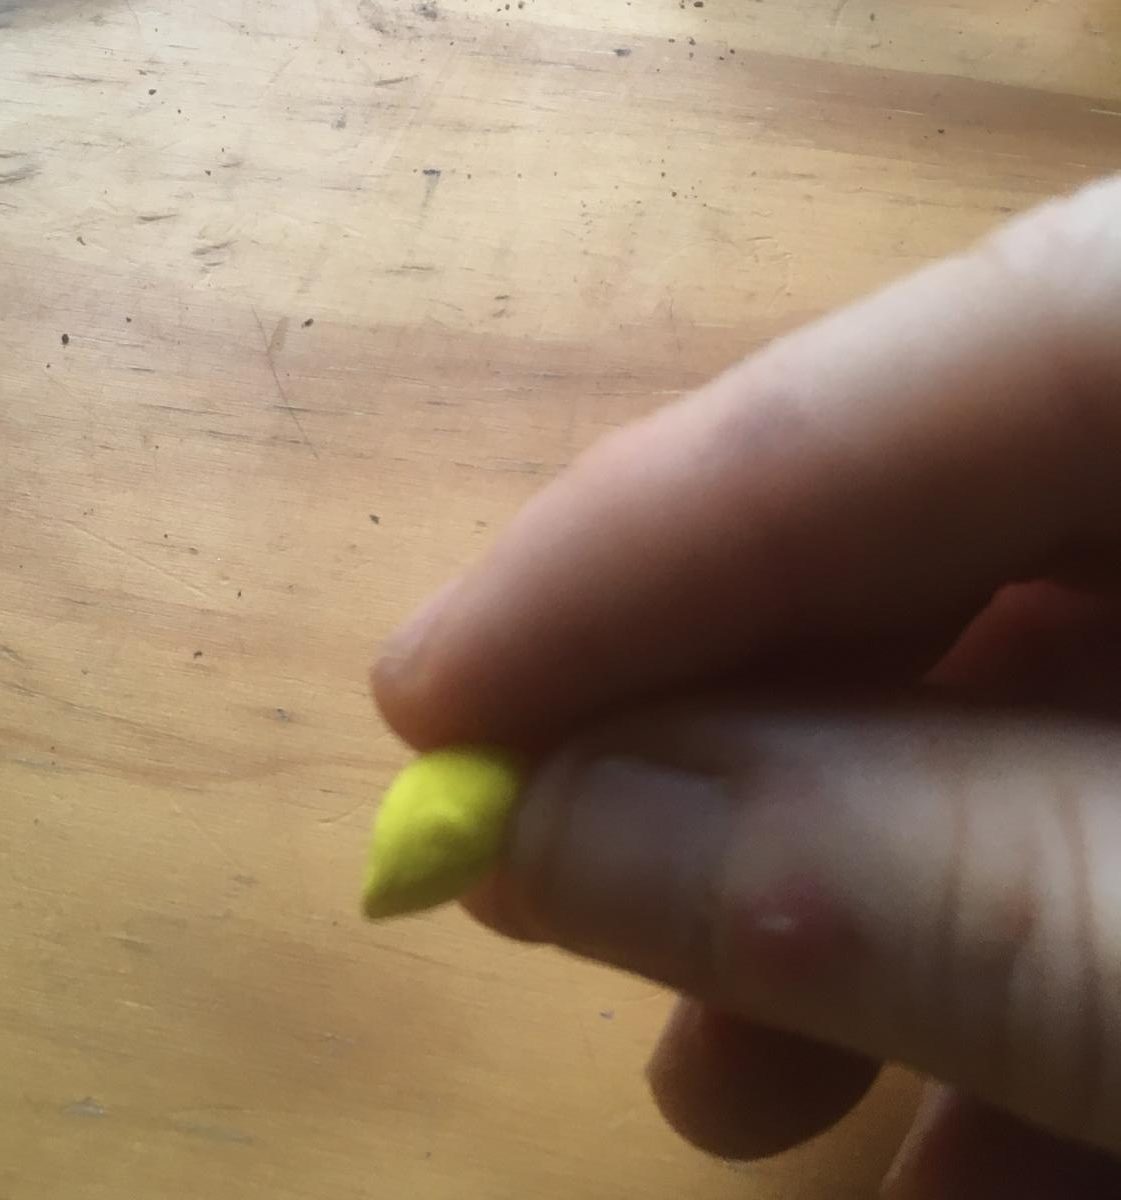
Cut out 1/8 of the colour two sheet, shape it into a triangle, and wrap it around the front of the teardrop, again keeping a defined line between the two colours.

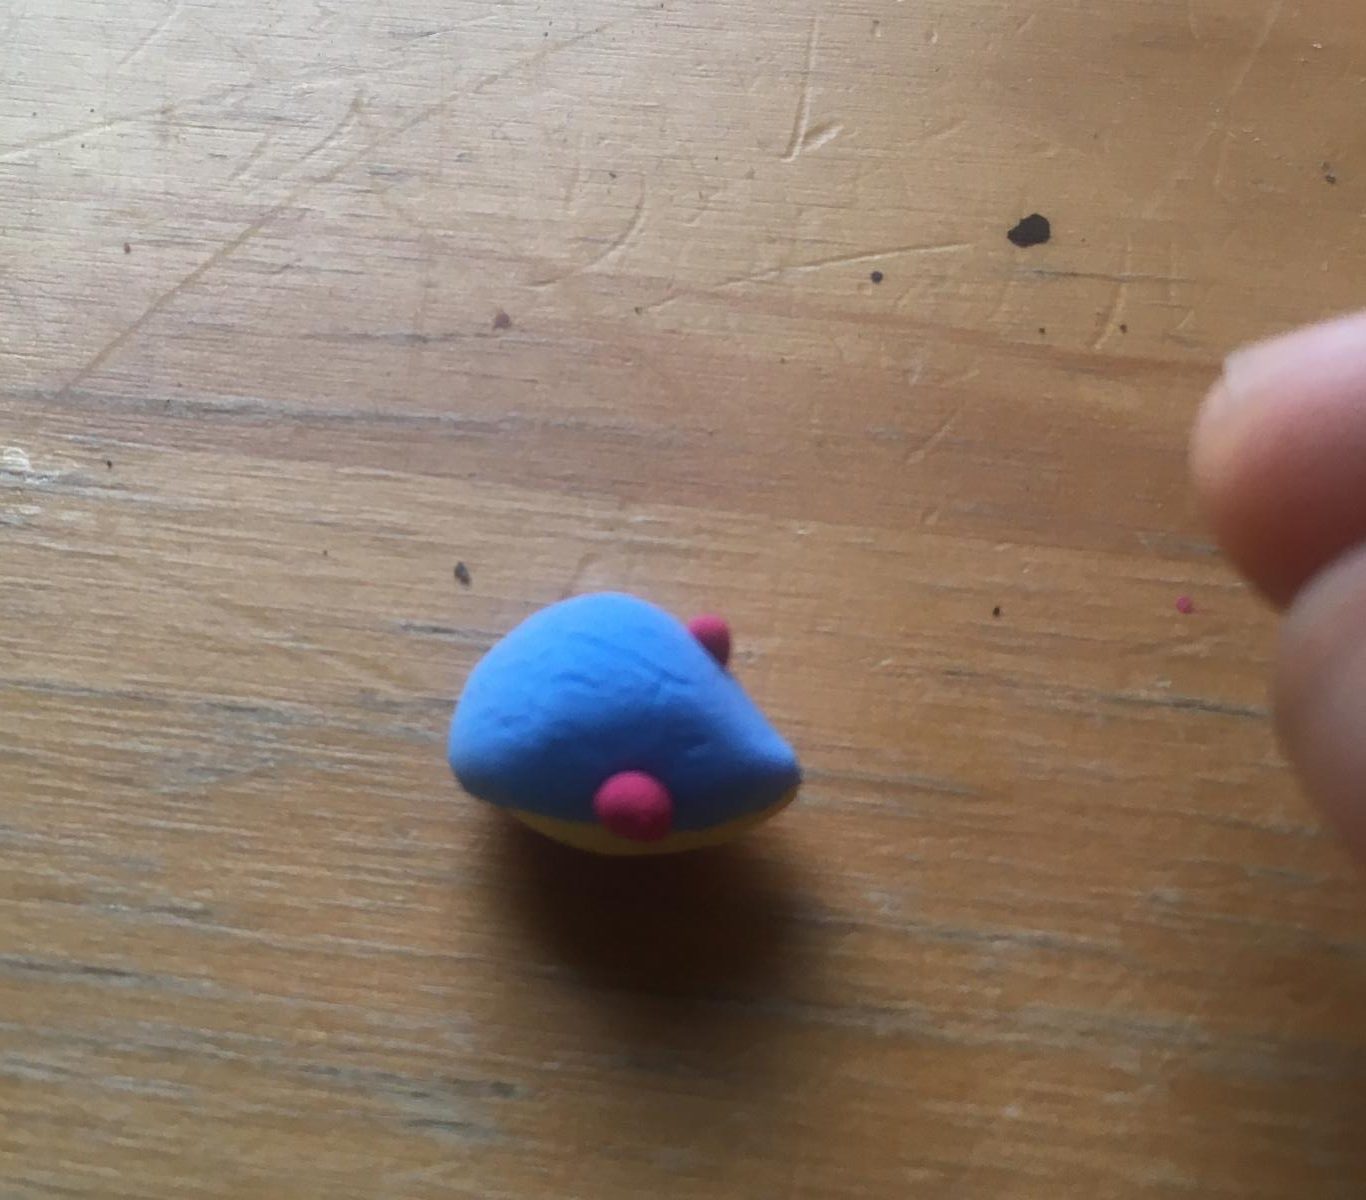
You can use small beads for the eyes, or, as I’ve done here, roll a tiny amount of clay into two little balls. Press carefully onto the head at the sides.
Ears
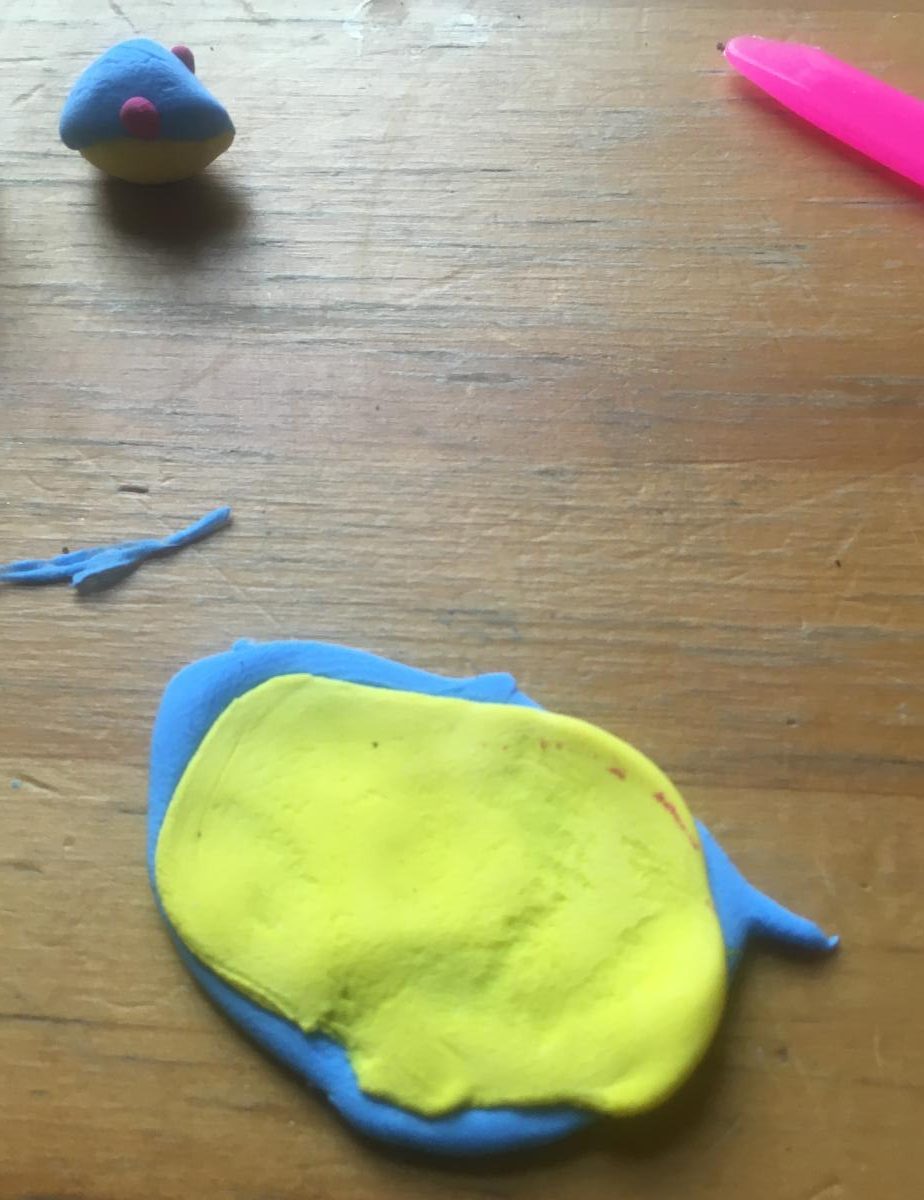
Press the colour one sheet onto the remaining colour two sheet and gently flatten them together. Cut out a circle a little smaller than a 5p piece (or a dime if using US money).

Cut it in two and gently shape the halves into curling, pointed ears, with colour one on the inside (so facing towards the front).
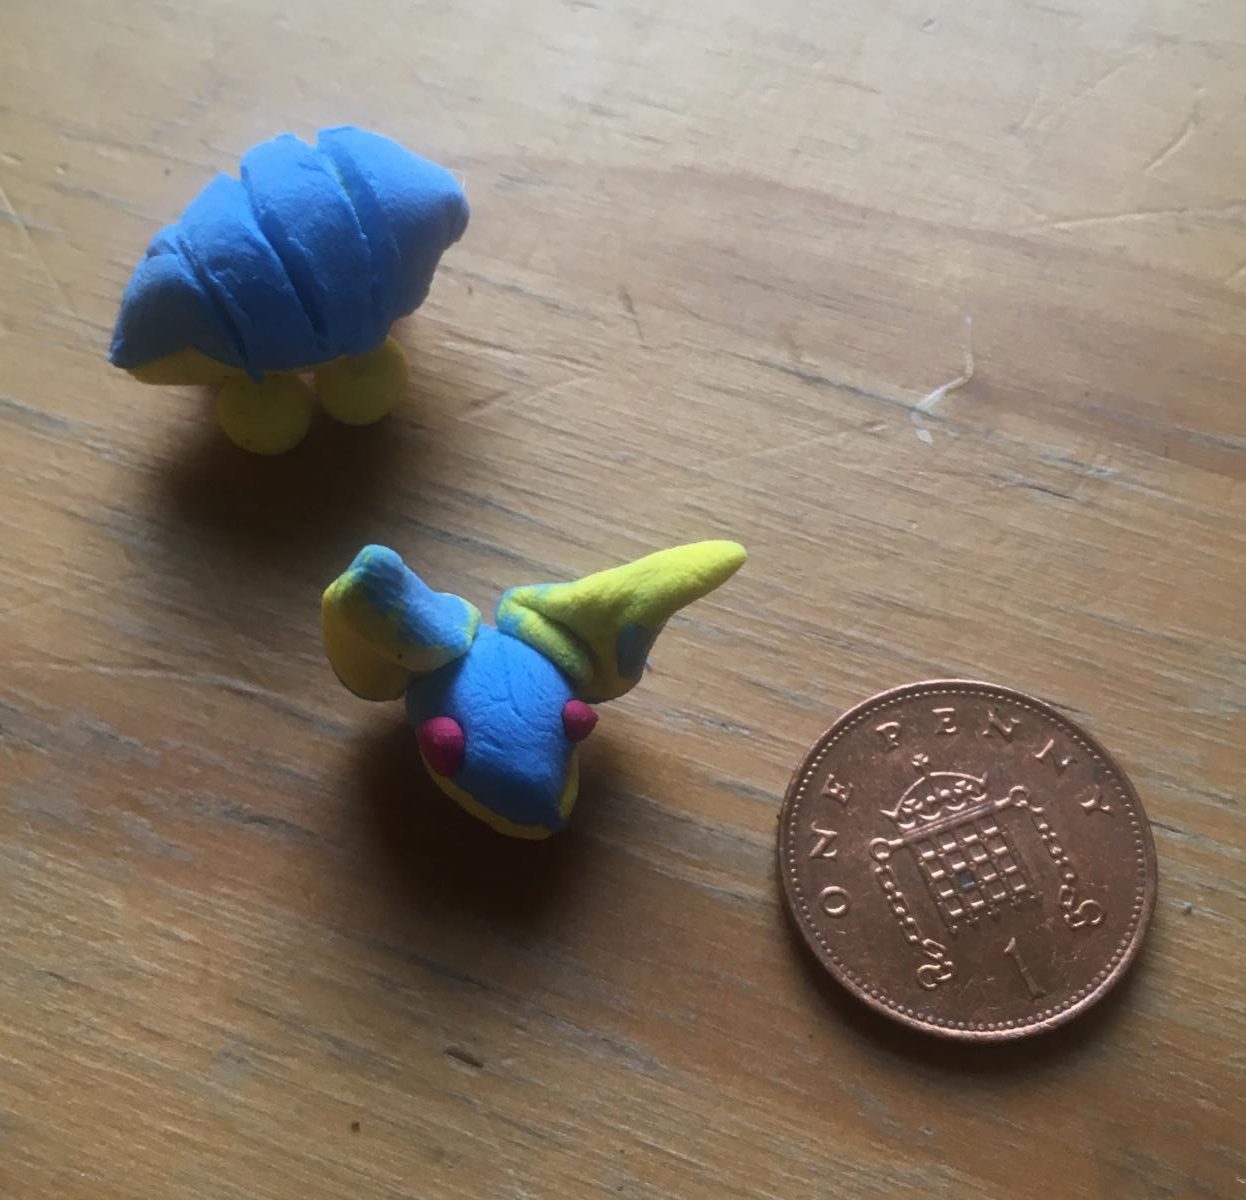

Affix the ears to the head, then fix your head to the body. If you find your armadillo is front-heavy (i.e., tilting forward onto their head, gently push the feet a little further back until your tiny beast is balanced.
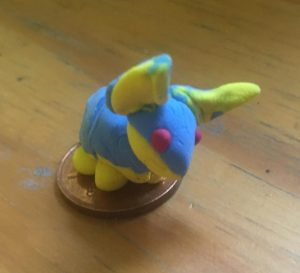
Your armadillo is now done!
Follow the instructions for your chosen medium on how to set your armadillo: for air-drying clay leave them overnight somewhere where they won’t be disturbed, for firing media the package should provide instructions on how to bake them. For heat-setting polymer clay be careful not to overcook them, since small items can heat faster than larger ones.
If you like watching people make tiny things, follow me on Instagram: @drfionamoore.
Fiona Moore (she/her) is an anthropologist who wandered into a business school twenty years ago, and stays balanced by writing SFF fiction and criticism, and making tiny things. Find her blog at www.adoctorofmanythings.com
We are the Bid Team for Glasgow in 2024 – A Worldcon for Our Futures. We are part of the vibrant Worldcon community. We would love to welcome you to Glasgow and the Armadillo Auditorium for the 2024 Hugo Awards. Please consider supporting us.