If you’ve ever been interested in creating your own resin dice, I’ve put together this guide from my trail and errors. Mostly, to help you try to avoid the pitfalls I’ve run into. I am Grace Worm, a 3rd year PhD candidate at the University of Glasgow where I research social science in Tamora Pierce’s fantasy world of Tortall and Other Lands. I am an avid gamer in every format and a semi-successful crafter in what little spare time I have. I’ve been making resin jewelry for a little bit now, but only recently got into resin dice-making. This guide will show you what materials you will need and the steps to make your own dice. Then nothing will get in the way of you having a personalised dice set for every character you make…
Materials
Must have:
- Resin and Hardener
- Parchment paper or cardboard
- Gloves
- Paper towels
- Dice moulds
- Syringe and/or pipettes
- Plastic cups
- Stirrers
- Toothpicks
- Fine or wet sandpaper
- Paint brush
- Resin colouring
- Paint(s)
Nice to have:
- Glitter
- Q-tips
- Heat gun
- Scale
- Jewellry bolt drill
Making Dice
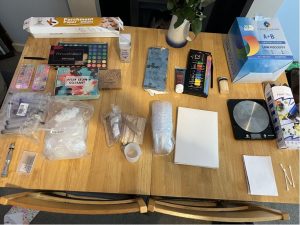
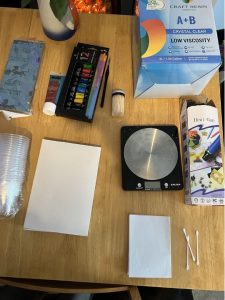
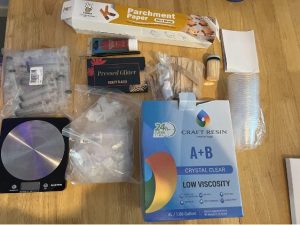
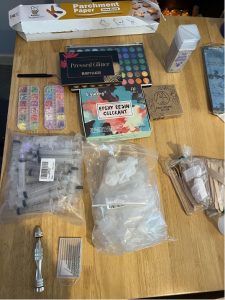
1. Gather Materials
-
- You can use other materials for colouring resin but be careful, they can affect the consistency of your dice. For the best clear, hard casts go for resin dyes but I have used eyeshadow or plain craft glitter to colour and glitterfy dice.
- If you want to make jewellry or turn the dice into other things you will want a small drill to put holes through in order to connect them with ribbon or metal wire.
- A heat gun is not necessary, I’ve made successful pours without one, but they can help with the bane of resin: bubbles. You can also use a hairdryer on low and hot.
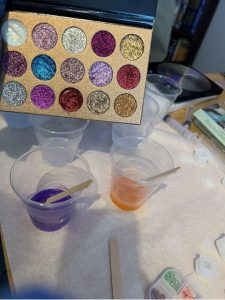
- You’ll want to make sure all materials are laid out for use beforehand, resin is incredibly sticky and messy. You should also decide the design for your dice! Decide how many colours you will use to set out the proper amount of cups. You will need cups for mixing and then additional cups for every colour you add.
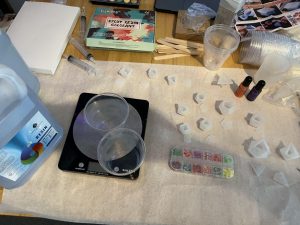
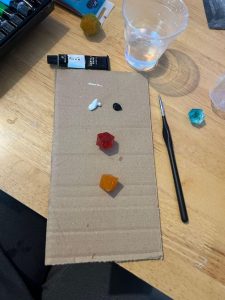
2. Lay out parchment paper, resin and hardener, scale (if using), moulds, dyes and glitters, gloves, pipettes (one for each colour), and paper towels nearby.
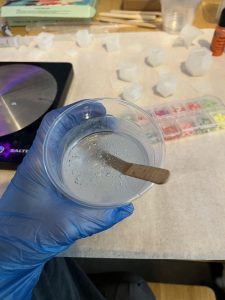
3. Weigh or measure equal parts resin and hardener, mix and stir for at least 5 minutes (or follow instructions on the kit you have)
-
-
- Make sure to wear gloves when handling resin! You don’t want this stuff on your skin.
- You want your resin and hardener to be room temperature, if you’re crafting in the winter or your home is cooler, you can let the bottles rest in lukewarm water before mixing.
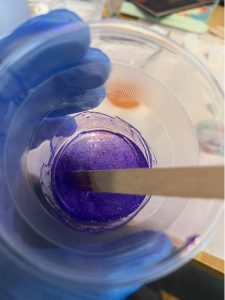
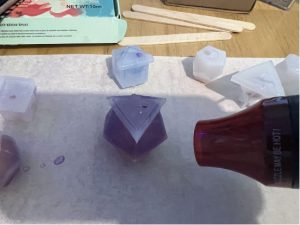
- Stir very thoroughly but gently, this is the step where most bubbles are introduced (my picture is just after pouring when there are quite a few bubbles). The mix needs to be fully mixed but try not to stir super vigorously.
- Scrap the sides while stirring.
- The amount I mixed in this image made 1 full set of dice (7), 2 large dice, and 2 extra smaller dice. You want some left over for the end step of pouring.
-
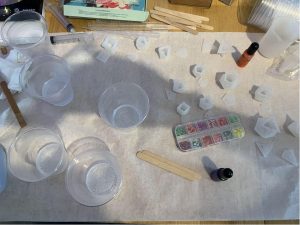
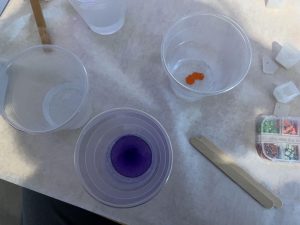
4. Once mixed, separate the mixed resin into cups for colouring. The number of cups will depend on how many colours you want to use. For my dye, I use 2-5 drops of colour depending on how dark I want to go.
Start light, you can add more colour if necessary and you probably want a colour that will allow light to shine through the finished product.
-
-
- For this mix, I’m making purple and orange glitter and clear resin with holographic eyeshadow.
-
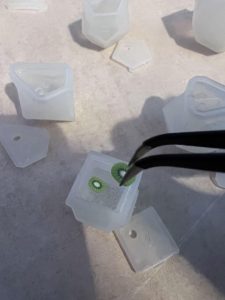
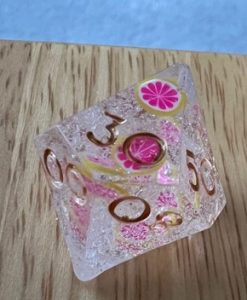
5. Use droppers, pipettes, or plastic craft syringes to carefully fill the moulds.
If using any added elements, add those after pouring the resin. I also added some fruit miniatures.
-
-
- Again, try to keep bubbles out of the process.
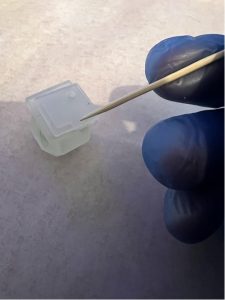
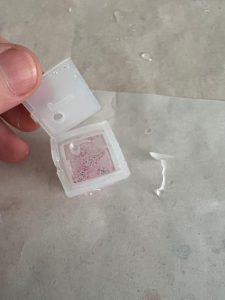
- My moulds have a top, homemade moulds do not. For my moulds, I filled them most of the way through then sealed the top with toothpicks.
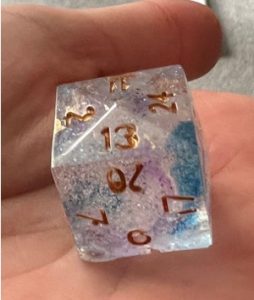
- When you inject two colours on top of one another, they tend to mix into one blob. In order to create the popular “galaxy” or mixed effect I tend to put the mould on its side and pipe in the lighter colour first, then pipe in the darker colour and give the whole mould a swirl to lightly mix the colours.
-
6. Put the top on moulds, and overfill them. I tap them on the table a couple of times gently to release bubbles. If using a heat gun, this is where you want to use it. You will actually see the bubbles rising to the top as you add heat.
You want to overfill so that when the resin settles and the bubbles pop, there will be more space.
7. Set aside and let it harden! I typically wait 24 hours to pull them out of the mould, but they will be set after around 7 hours. They will still be slightly soft and will continue to harden over the next two weeks.
I recommend letting your dice sit for a couple of weeks before beginning to use them in rolls.

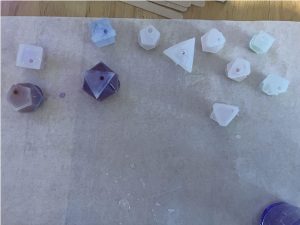
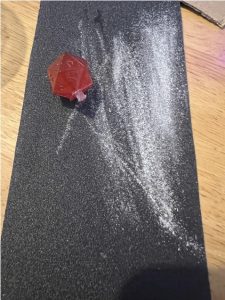
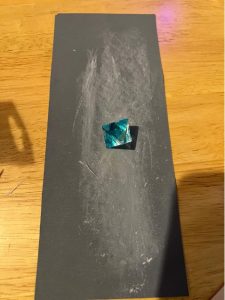
8. Pull the dice out of the moulds!
-
-
- It is very easy to peel off any excess resin.
-
9. File and sand the dice. Be very careful, this is actually the step I have messed up most frequently.
-
-
- It helps to use sandpaper that can be wet for use and to get fine buffing sheets. I use the harder pad to file away the larger pieces then wet the dice to buff them smooth.
- One stroke on the sandpaper can accidentally erase a corner or number so go gently and slowly.
-
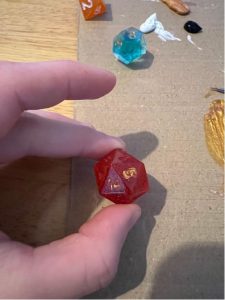
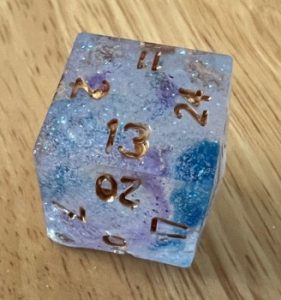
10. Paint the numbers! You can use regular acrylic paint. Depending on how much you use your dice and how you store them, you may need to repaint them someday so don’t be too much of a perfectionist!
-
-
- I have found that the best method is to fill the indents of the numbers with paint then to wipe away excess on the dice front. However, this method will not work if there are lots of small surface bubbles in your pour.
- I like to use a shimmery gold, silver, or white for the easiest visibility but chose whatever works with your design!
-
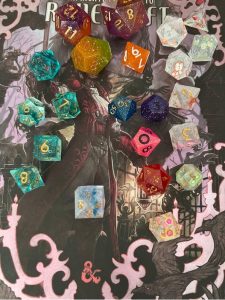
11. Roll and Play!
Listen, your dice will never be perfect but no one besides you will notice and every tiny little difference can help make them personal to you! Every time is better the next and you’ll discover the methods that work for you.
12. Optional: Making jewellery or ornaments
-
-
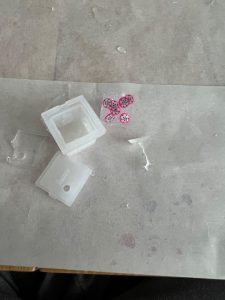
- Never let a mistake go to waste! I have many many times created surface bubbles or not filled the moulds fully or accidentally sandpapered off a whole side and these wonderful dice have gone on to become earrings, christmas ornaments, or really anything.
- Use a small resin or jewellery drill to punch holes in the corners or dice to insert a metal wire and create to your heart’s content.
-
This post is brought to you by Grace from the Glasgow 2024 promotions team.
We are the Bid Team for Glasgow in 2024 – A Worldcon for Our Futures. We are part of the vibrant Worldcon community. We would love to welcome you to Glasgow and the Armadillo Auditorium for the 2024 Hugo Awards. Please consider supporting us.