
My method for making things without patterns regularly flummoxes people, but I thought I’d have a go at writing it down.
The SEC Armadillo building is our amazing Glasgow 2024 venue.
Because of this, the armadillo is one of our mascots. So, obviously, we needed a tartan armadillo!
The first step is to analyse the armadillo for component features:
1. Big curved body, almost a semi-circle, with visible stripes in the middle
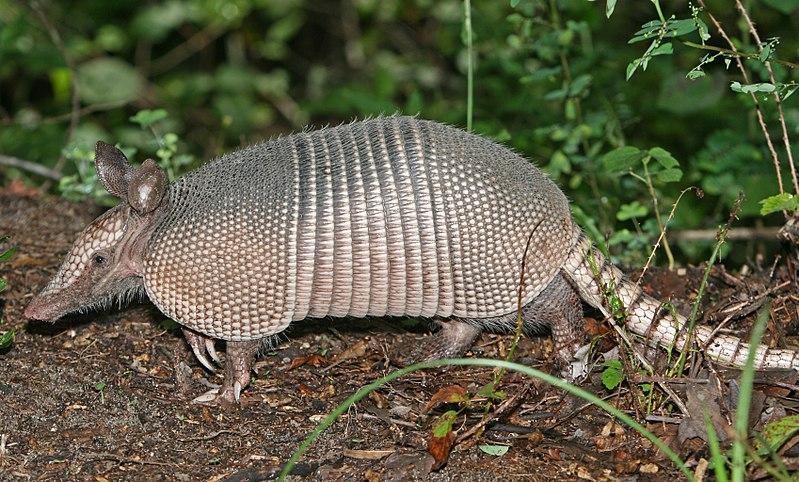
2. Small pointy head, mostly cone-shaped, with small, perky ears
3. Long, thin, pointed tail
4. Small feet with claws, which attach under the stomach
Each of these features becomes a component I need to make before joining them all together.
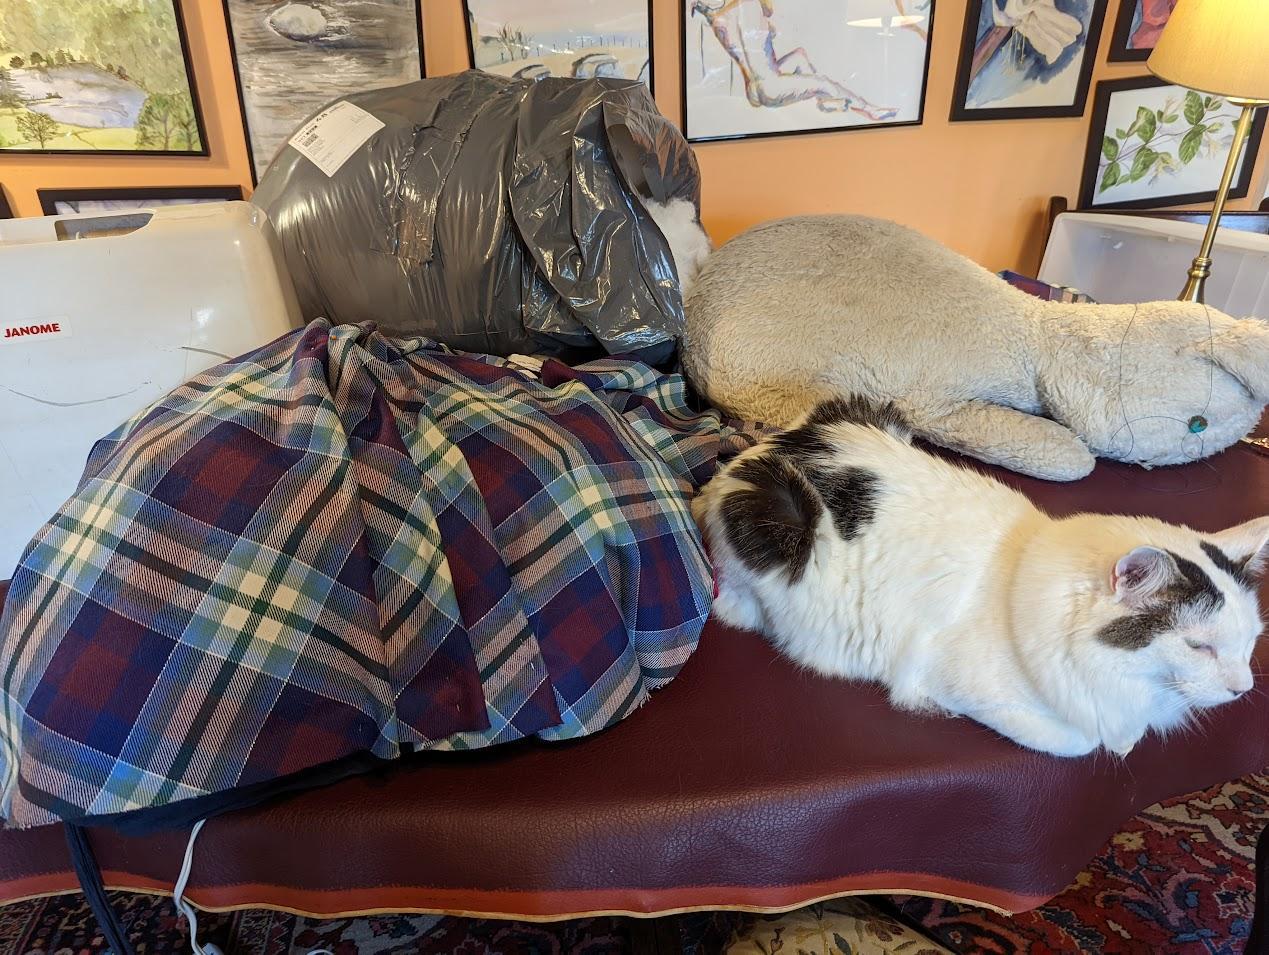
For materials: 1m of the amazing Landing Zone Glasgow tartan, some additional offcuts, a large amount of stuffing, plus notions (thread, pins, buttons, etc.).

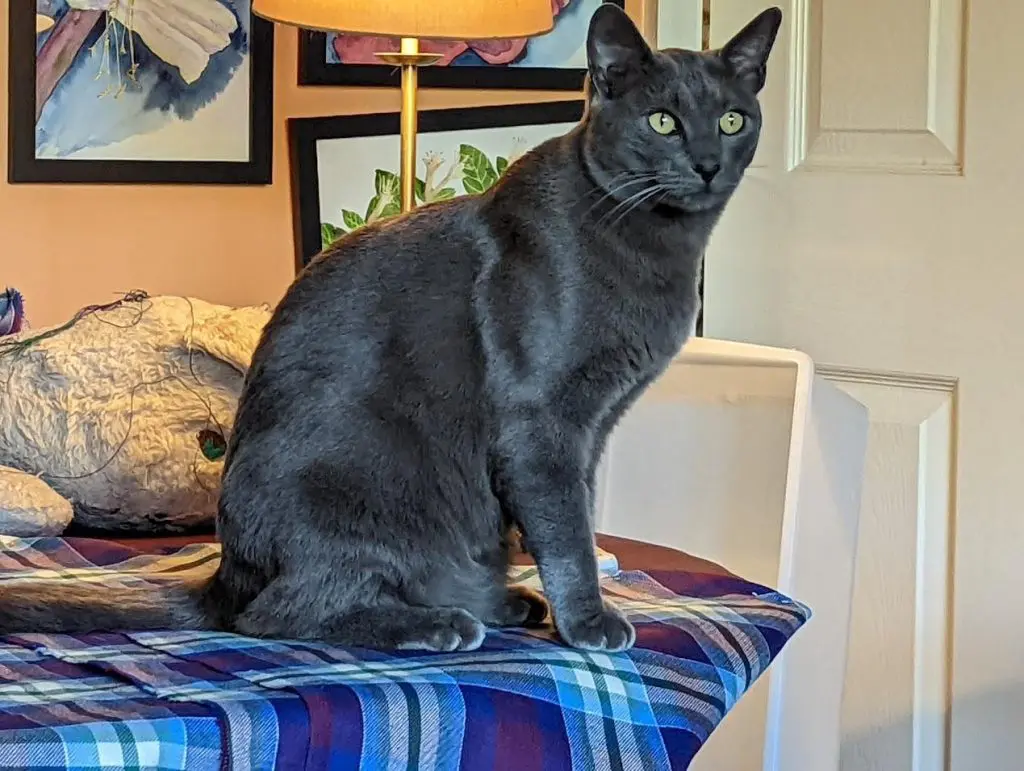
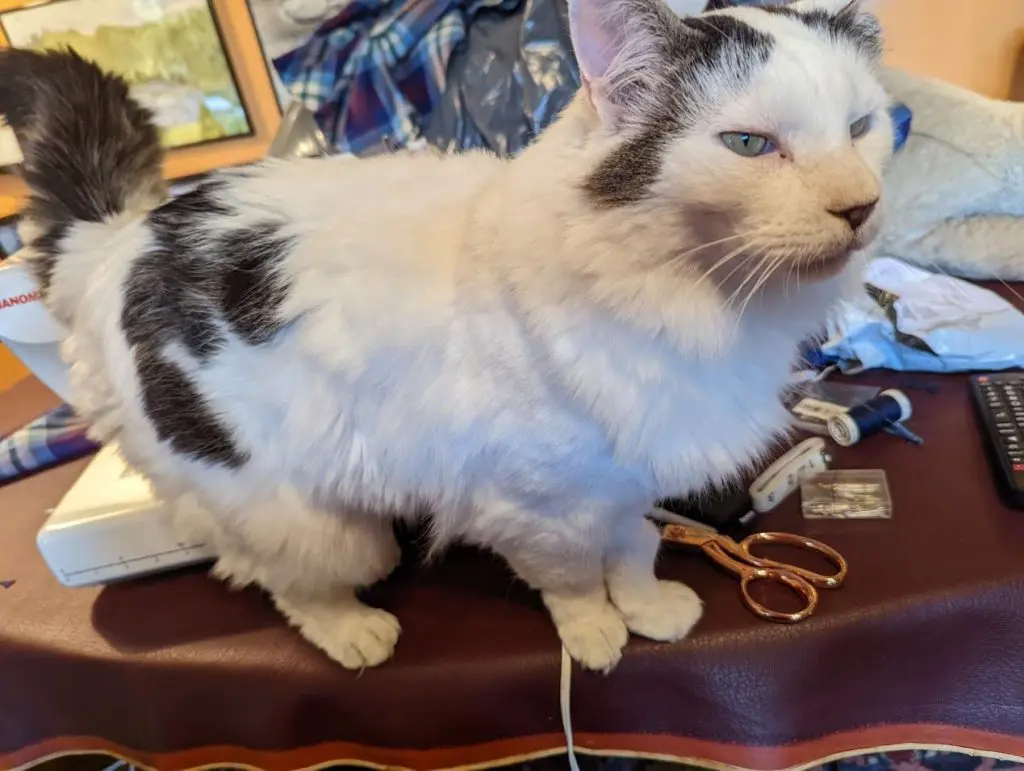
My feline assistants: Mercury (grey) and Zephyr (white)
With this all set, the first task is to make the huge curve of the body with the stripes.
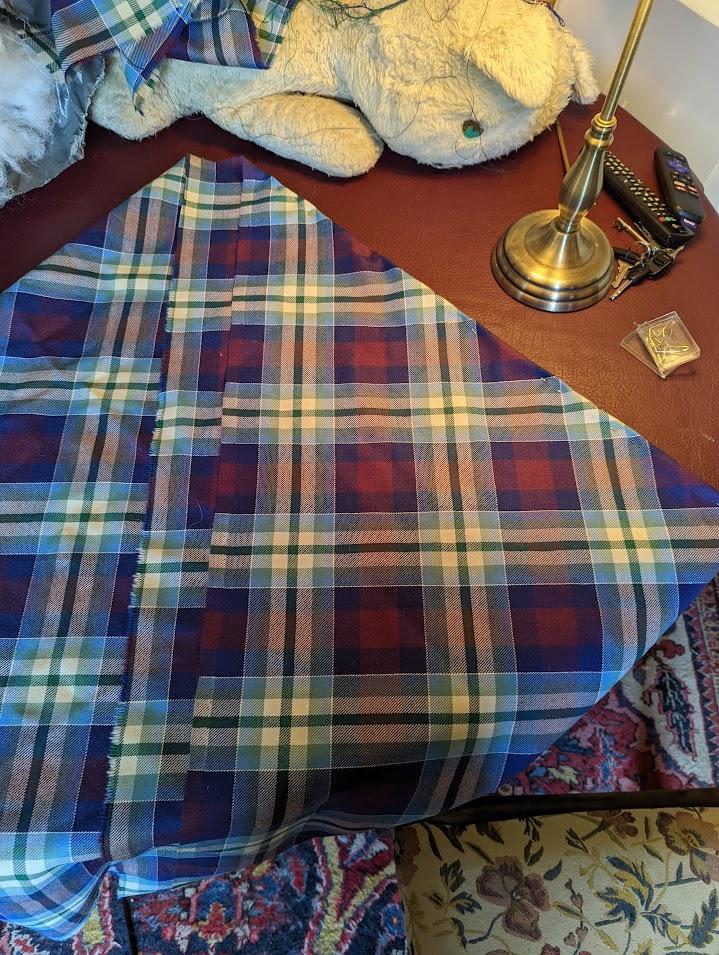
I decided to use the tartan on the bias (diagonally) because I thought it would look better that way, and it also allowed me a larger single piece than a vertical cut would have.
I folded the fabric twice on the two diagonals and pinned it so it didn’t shift.
The fabric turned out to be not exactly square—the tartan stripes are slightly different widths, horizontally and vertically (see above). I prioritised keeping a clean diagonal line from nose to tail.
I took a very deep breath and cut a large oval out of the fabric, cutting through all four layers at the same time, as large as I could fit on the folded section.
The big task of a sewing pattern is to alter a flat piece of fabric until it takes on the curves or angles of the target thing. One of the main techniques to do this is called tucks. You make shaped folds in the fabric to curve it around, and then sew them to fix the shape.

As demonstrated by this piece of paper, angled folds that are wider at the edges than the middle cause the centre of the piece to curve down at both ends.
My big idea here was that I could use one set of pleats to make both the stripes in the animal’s body and to fit the curve, as above.
To do this, I pinned three pleats that started narrow in the middle of the body and got wider at the bottom, to curve the body downward. I spent a lot of time fiddling with this bit and testing it to get it right—given that it’s the most critical central feature of the animal—but fine wool is excellent for this type of work and allowed me to finesse the shape.
I made four tucks, one at each ‘corner’, to bring the ends of the fabric down for the nose and tail. (In the corners not only because that’s where the shoulders and hips are, but also to the head and tail portions clear.)
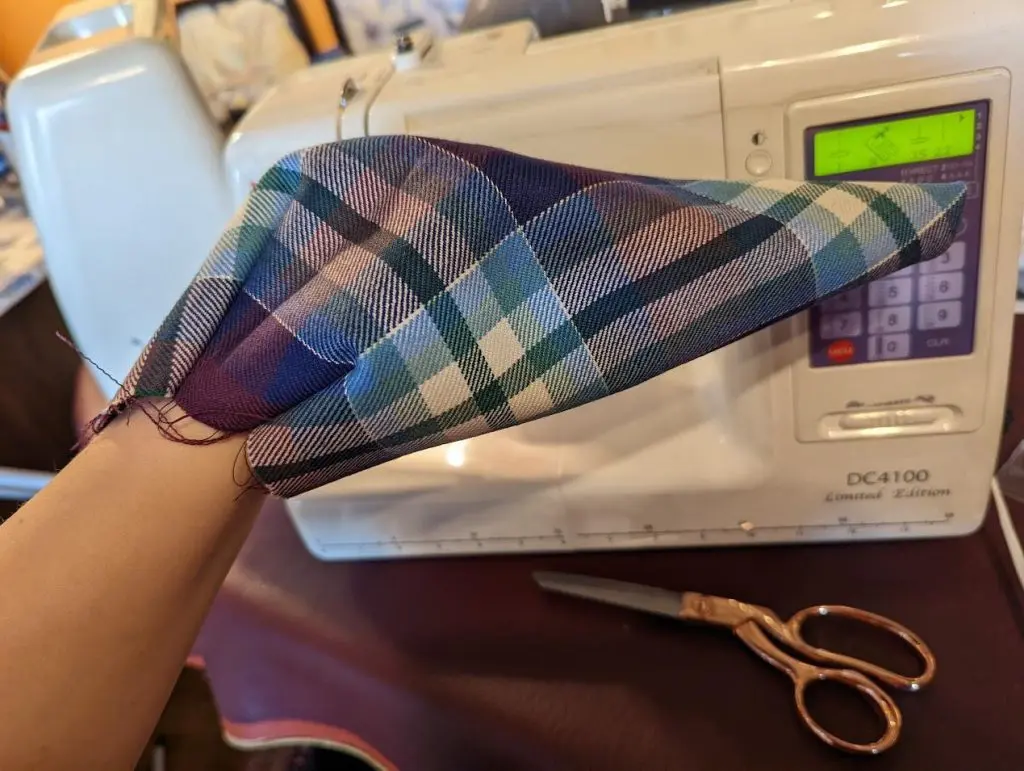
After sewing it down, the next step was to make the head. This was a lot easier, as it’s a long narrow cone: I took a square piece, folded it on the diagonal, and added a little shaping at the back.
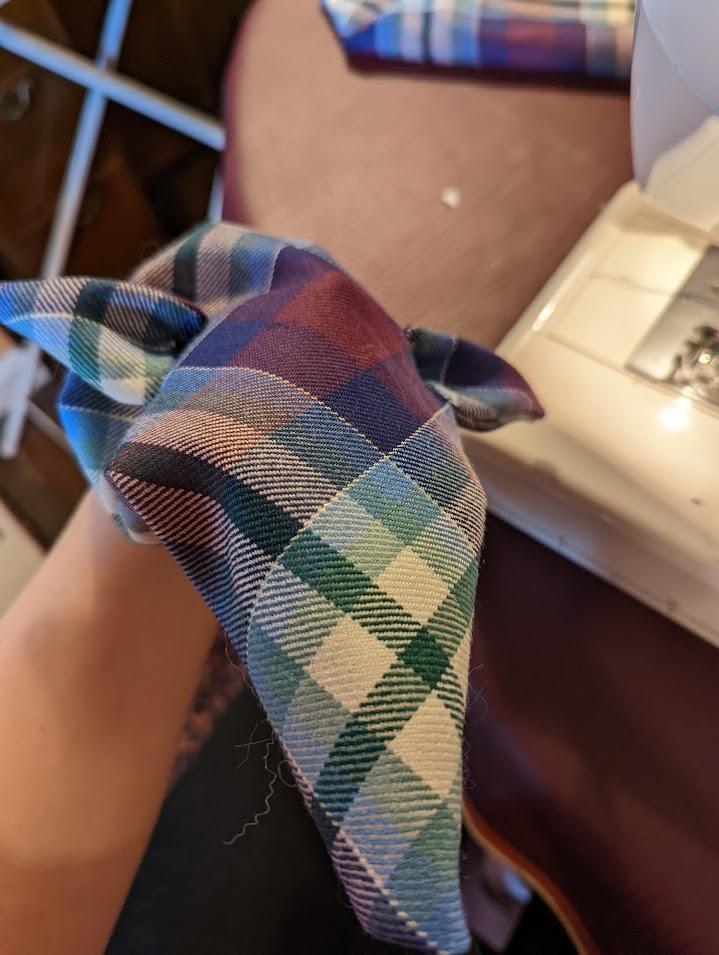
Before and after adding ears made from scraps
The tail was easy, too: a long rectangle, cut diagonally, to make two long triangles of the same size, and then sewn with the long edges together. (I didn’t cut these on the diagonal as it would have wasted too much fabric, but the stripes on the animal’s tail also go vertically, which is my excuse.)
The stomach is an oval the same size as the opening left at the base of the body shape, also cut diagonally.
I had two goes at making the feet. I tried to make glove shapes for the claws, but the fabric unfortunately frayed at that level of detail. So, I ended up making mitten shapes and buying some ribbon to make claws later.
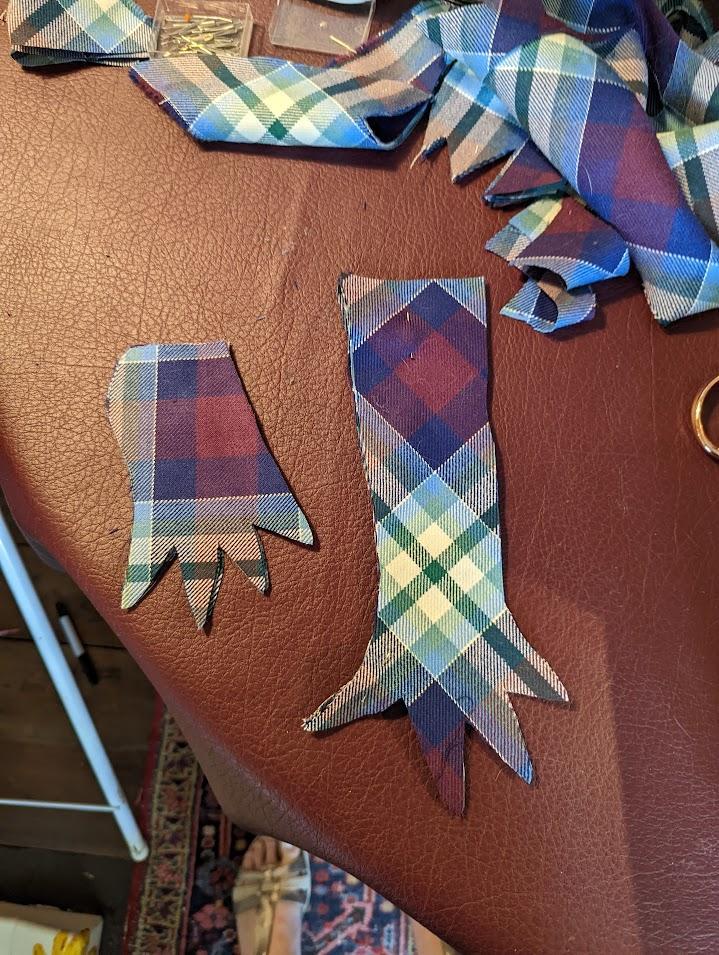
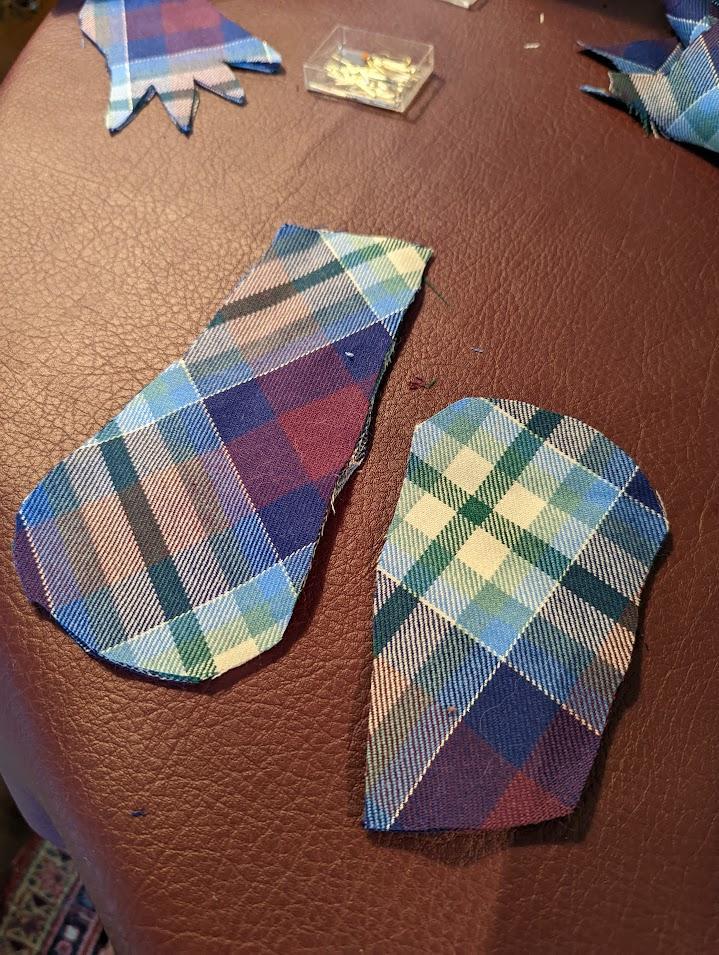
Failed glove shape and successful mitten shape. Luckily the mitten shape held.
As the animal’s feet are definitely under the body rather than on the sides, I stuffed them and sewed them directly to the stomach piece.
Then I carefully sewed the entire animal together, inside out, with a gap for the stuffing to go in. I used reinforced stitching and didn’t trim the seams; both steps should make it more robust. (Because the head and tail are above the line of the stomach, they are both sewn to the body piece to hold them in place.)

Then I turned it right way in.
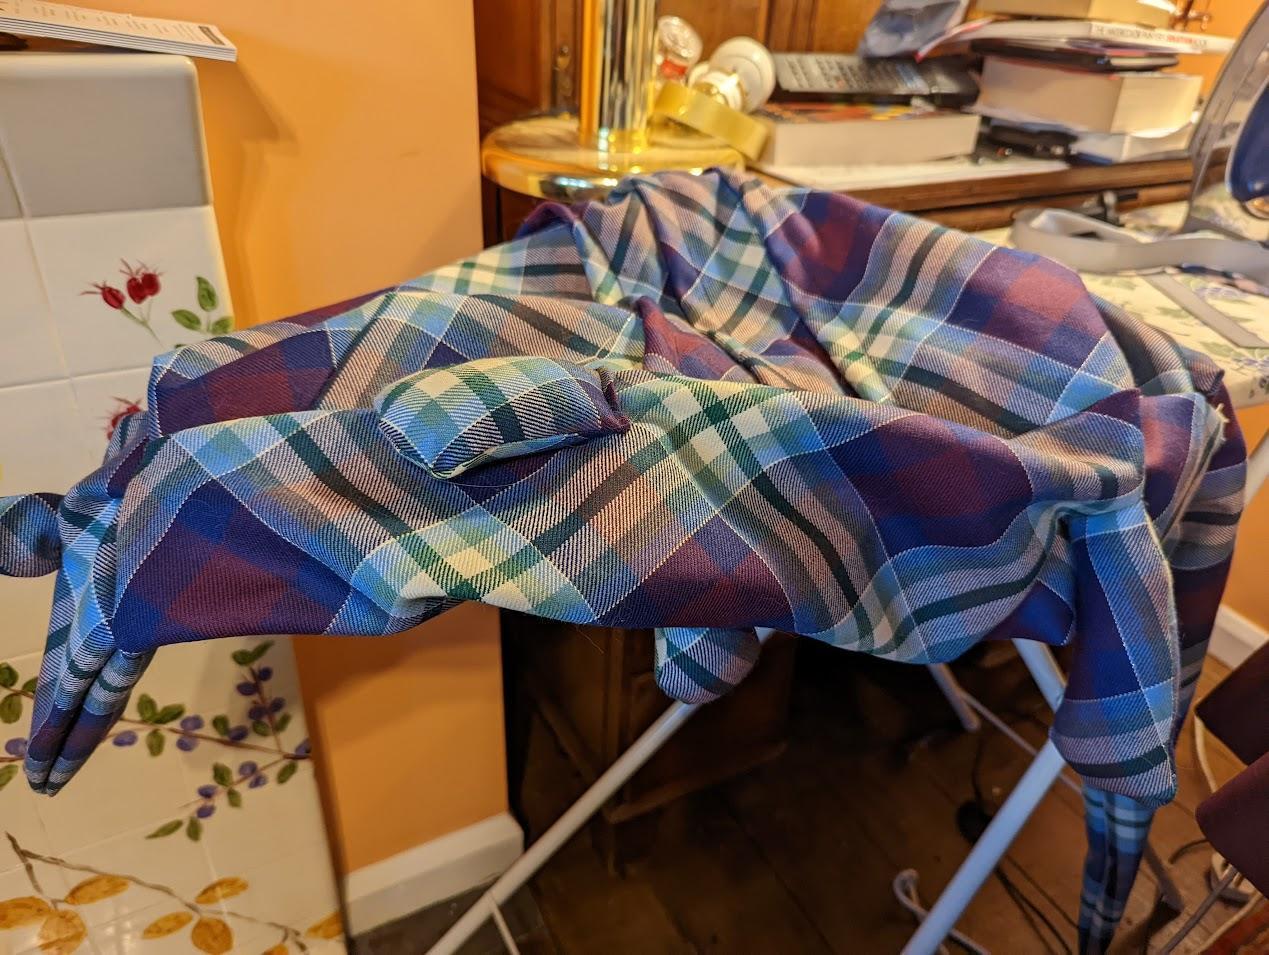
Flop!

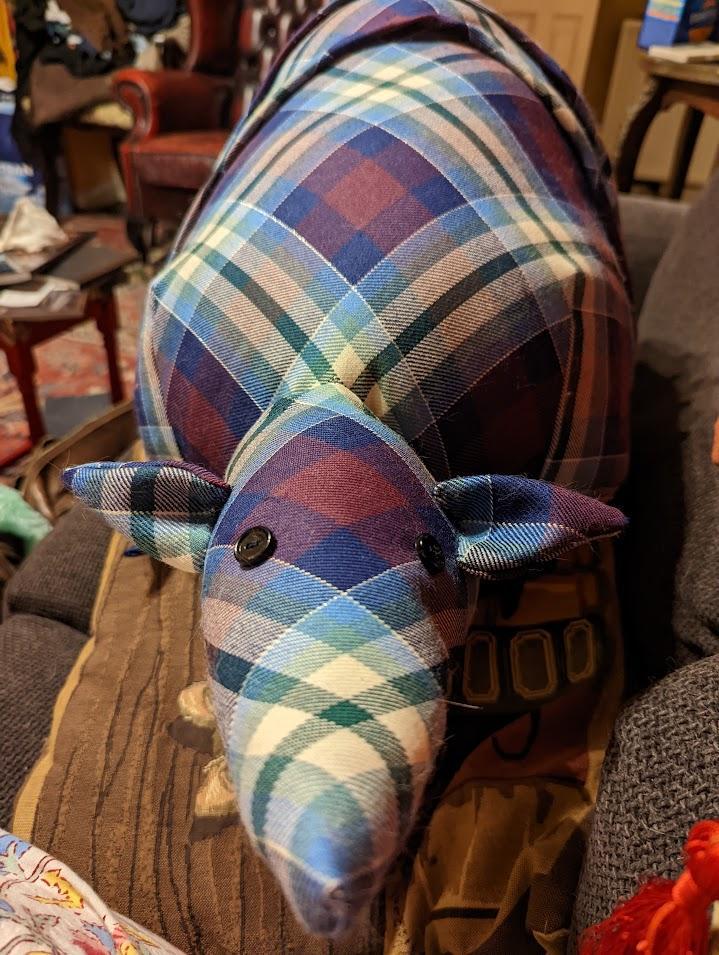
I added the stuffing, using a biro to push it into the pointy bits, and hand-sewed the remaining gap.
The animal was nearly finished, apart from needing eyes and claws—and is nearly as long as my sofa.
I found small buttons in my sewing stash for the eyes, and made lots of small cones from navy blue ribbon for the claws. These had to be sewn by hand due to fiddliness, but were eventually done.
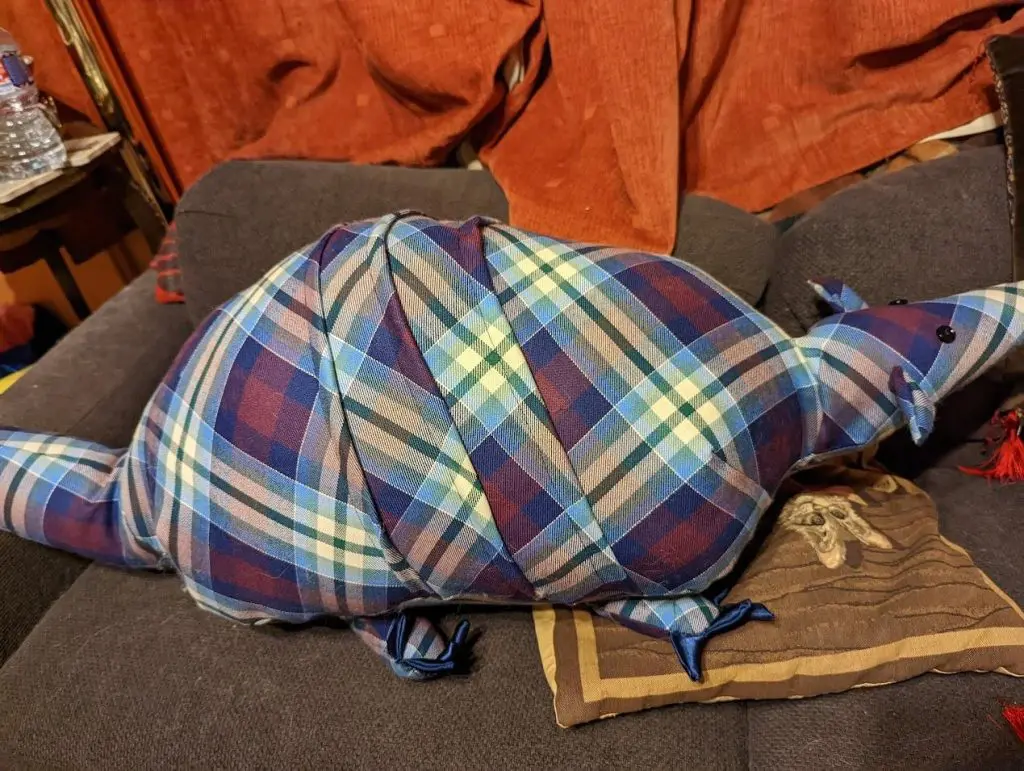
And here is the finished tartan armadillo, ready to support fannish adventures and serve as bid mascot!
Quite cute, I think, though I do say so myself!
Kate Towner (she/her) is a lifelong reader and fan, and occasional cosplayer and fanfic writer. You can find her on X (Twitter), Bluesky, and Mastodon, @katepreach, or co-running fantasybookclub.org
The 82nd Worldcon will take place in Glasgow, August 8–12, 2024. We can’t wait to welcome you to Glasgow and the SEC/Armadillo for a Worldcon for Our Futures.