Today we have another fun crafting project for you! Bid artist Sara Felix has designed a lovely papercraft airship for us. Pick one up at a Glasgow in 2024 Fan Table near you, or download it as a PDF here:
When printing yourself, we recommend using a slightly heavier paper – I used paper with a weight of 120 g/m². We have two types of instruction here: Sara Felix made a video to show how to make this up, and there’s a text-based tutorial with pictures and explanations below.
Sara’s wonderful video tutorial.
Tutorial
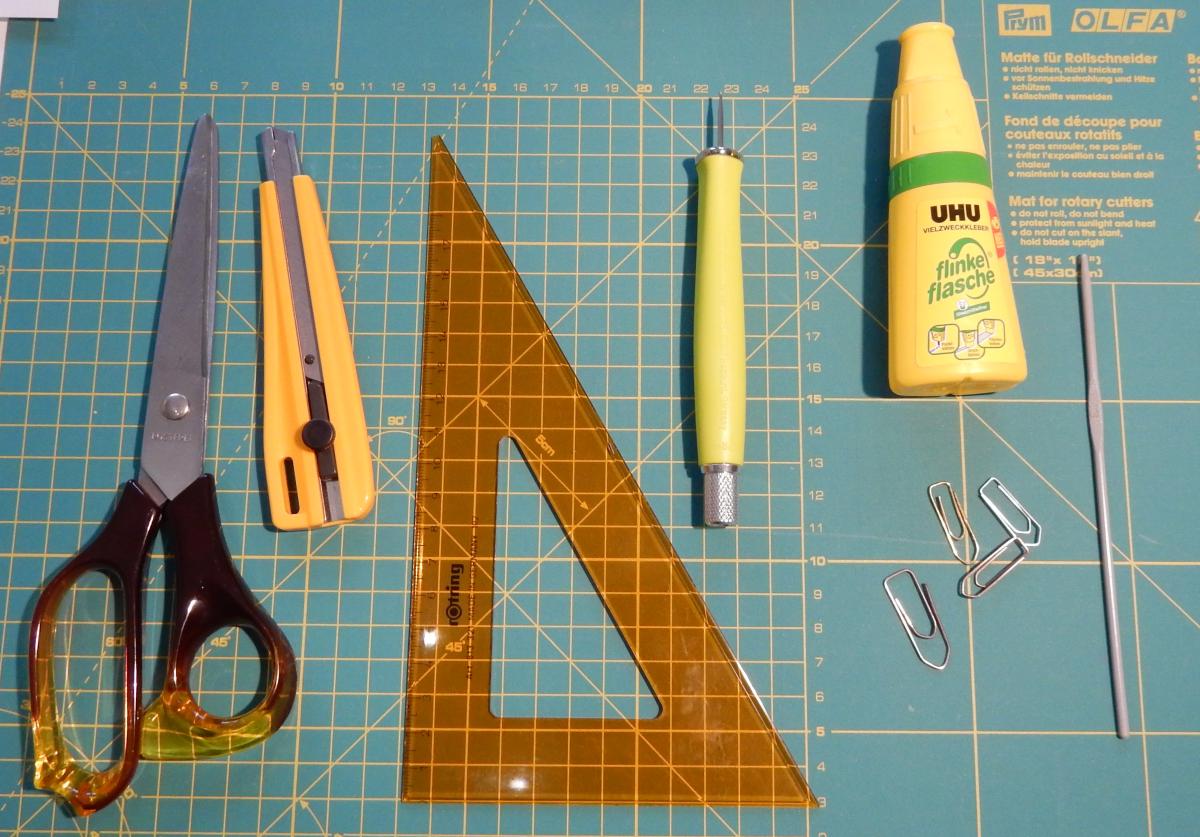
Tools – from left to right:
- Scissors and/or craft knife
- Ruler and embossing tool, alternatively an empty ballpoint pen.
- Craft glue, a few paper clips and something thin and long (doesn’t need to be a crochet hook, it’s what I had lying around).
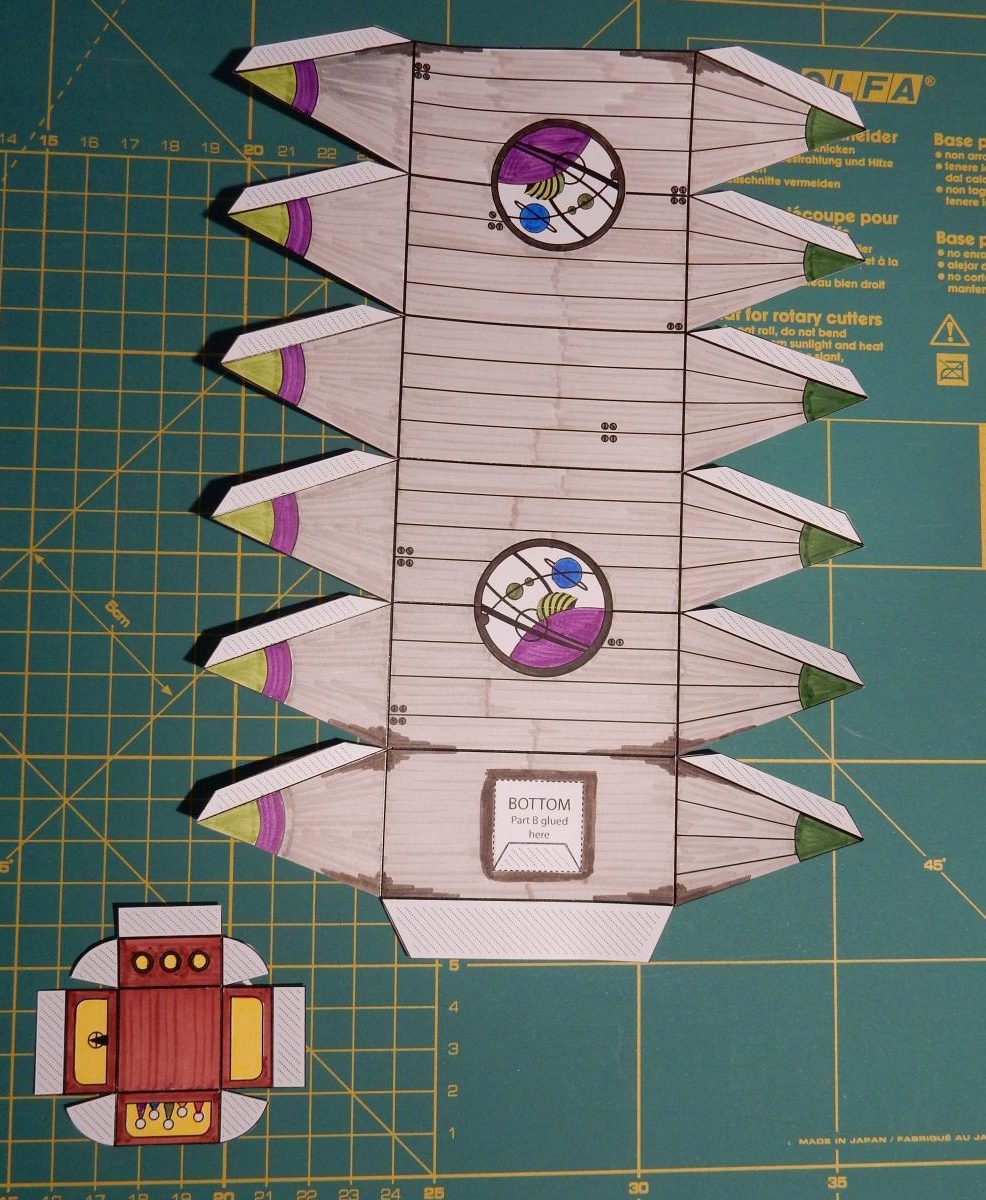
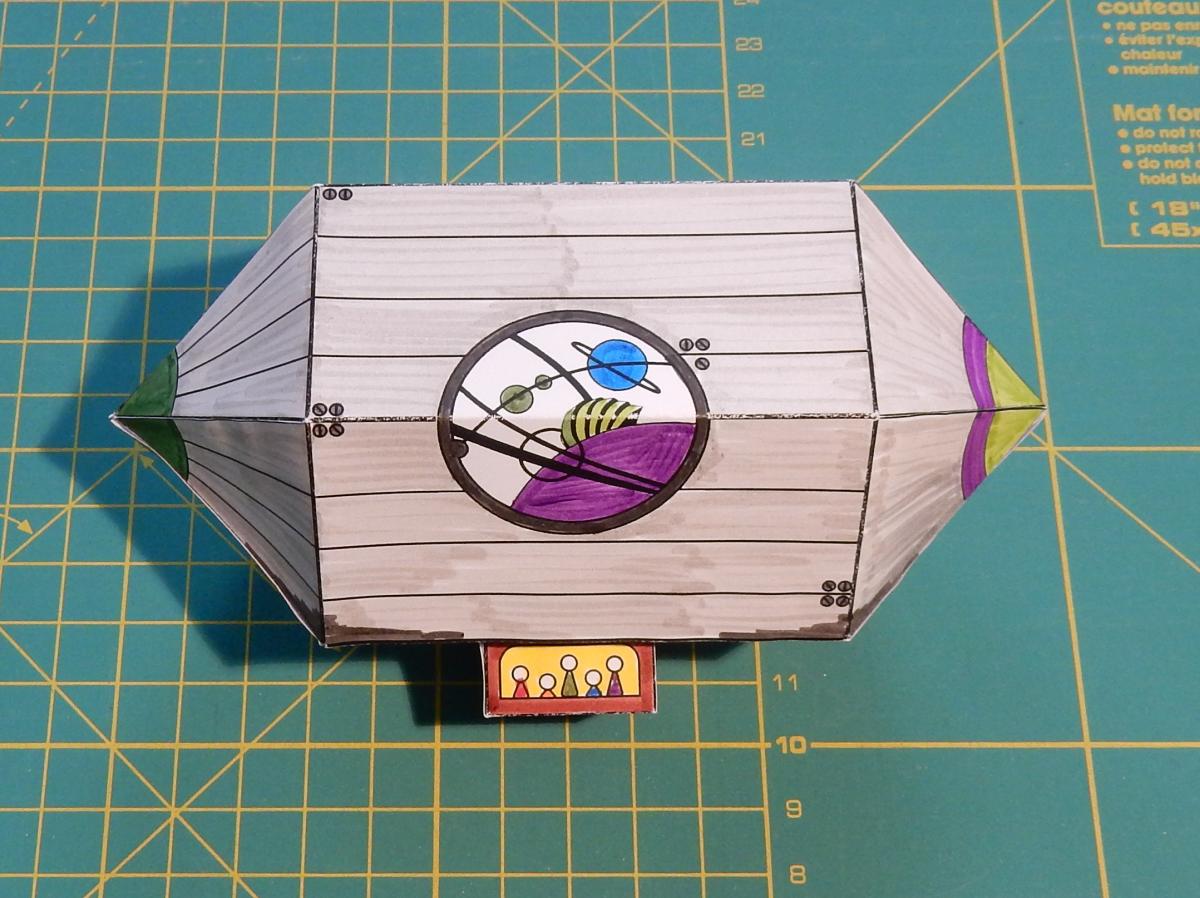
The design consists of two parts: the balloon (part A), and the gondola (part B).
Step 1 – Colour! Using coloured pencils or felt-tip pens, create your personal airship design.

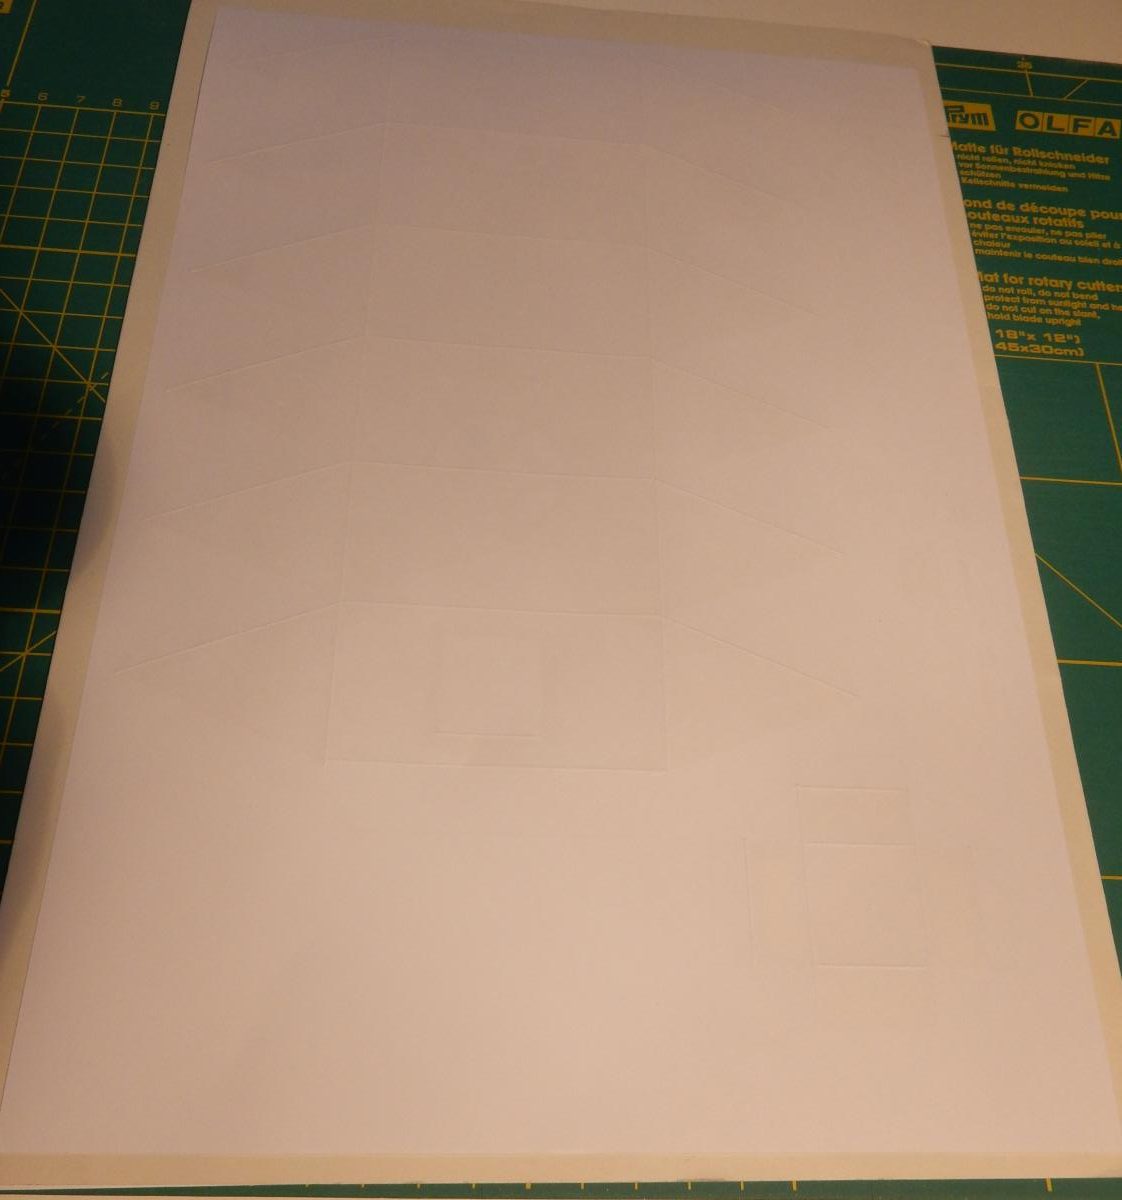
Step 2 – Prepare the fold lines. Put your design on a relatively soft surface, for example a folded newspaper or similar. Using an embossing tool (or an empty ballpoint pen, same effect) and a ruler, draw over all the folding lines, making them easier to fold later. The image shows the back of the paper at this stage.
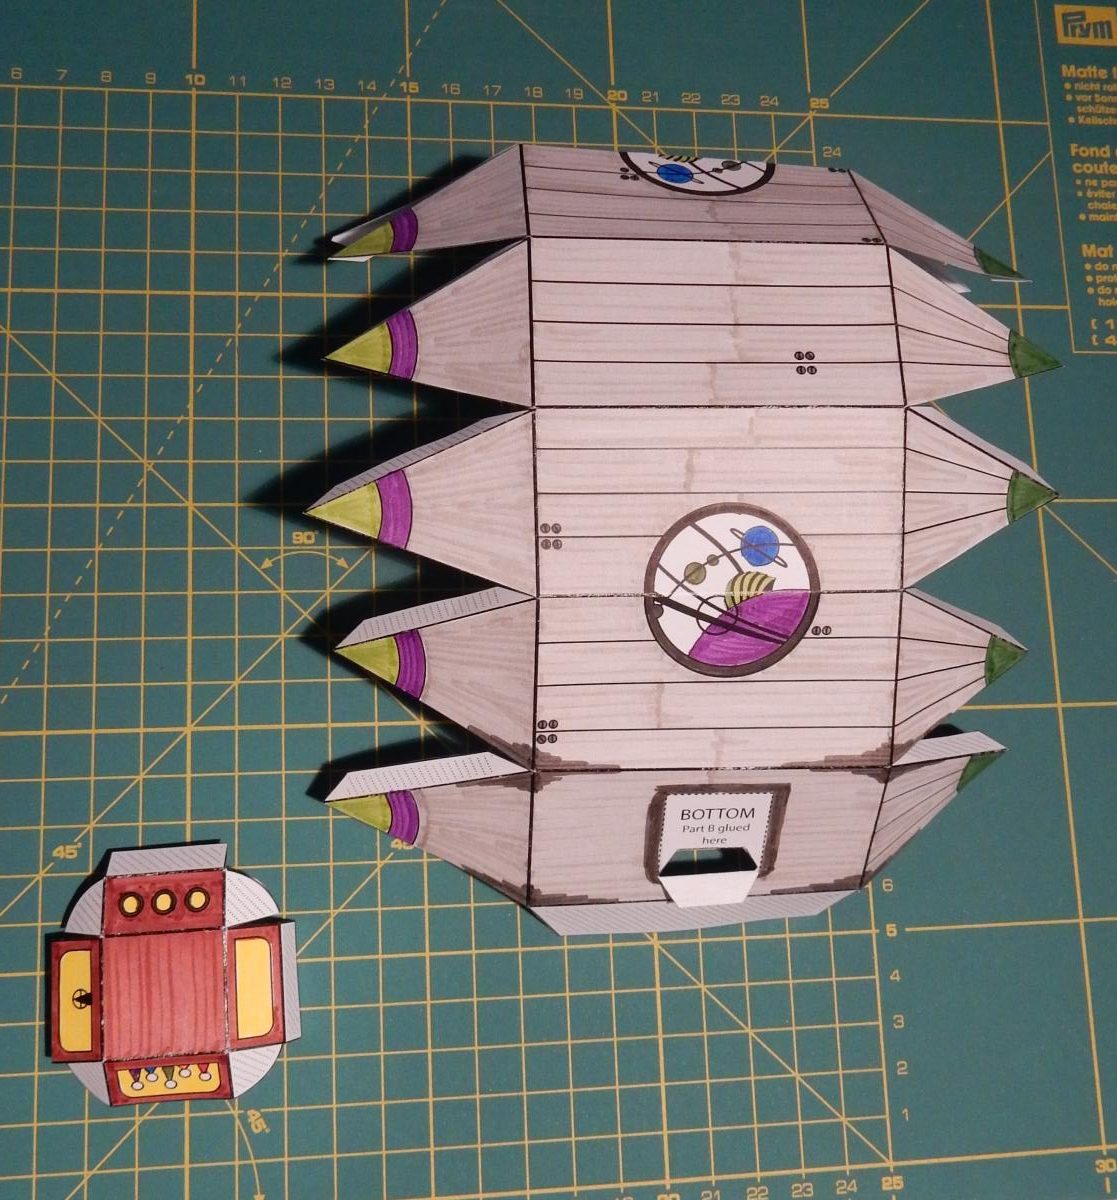
Step 3 – Cut out the pieces. The only internal place to cut is around the flap on the bottom of the balloon. Cut along the solid line, the dotted line will be the fold line.
Step 4 – Fold along all the prepared fold lines. All the folds go inwards, the only exception is the flap on the bottom of the balloon, which needs to be folded outwards.
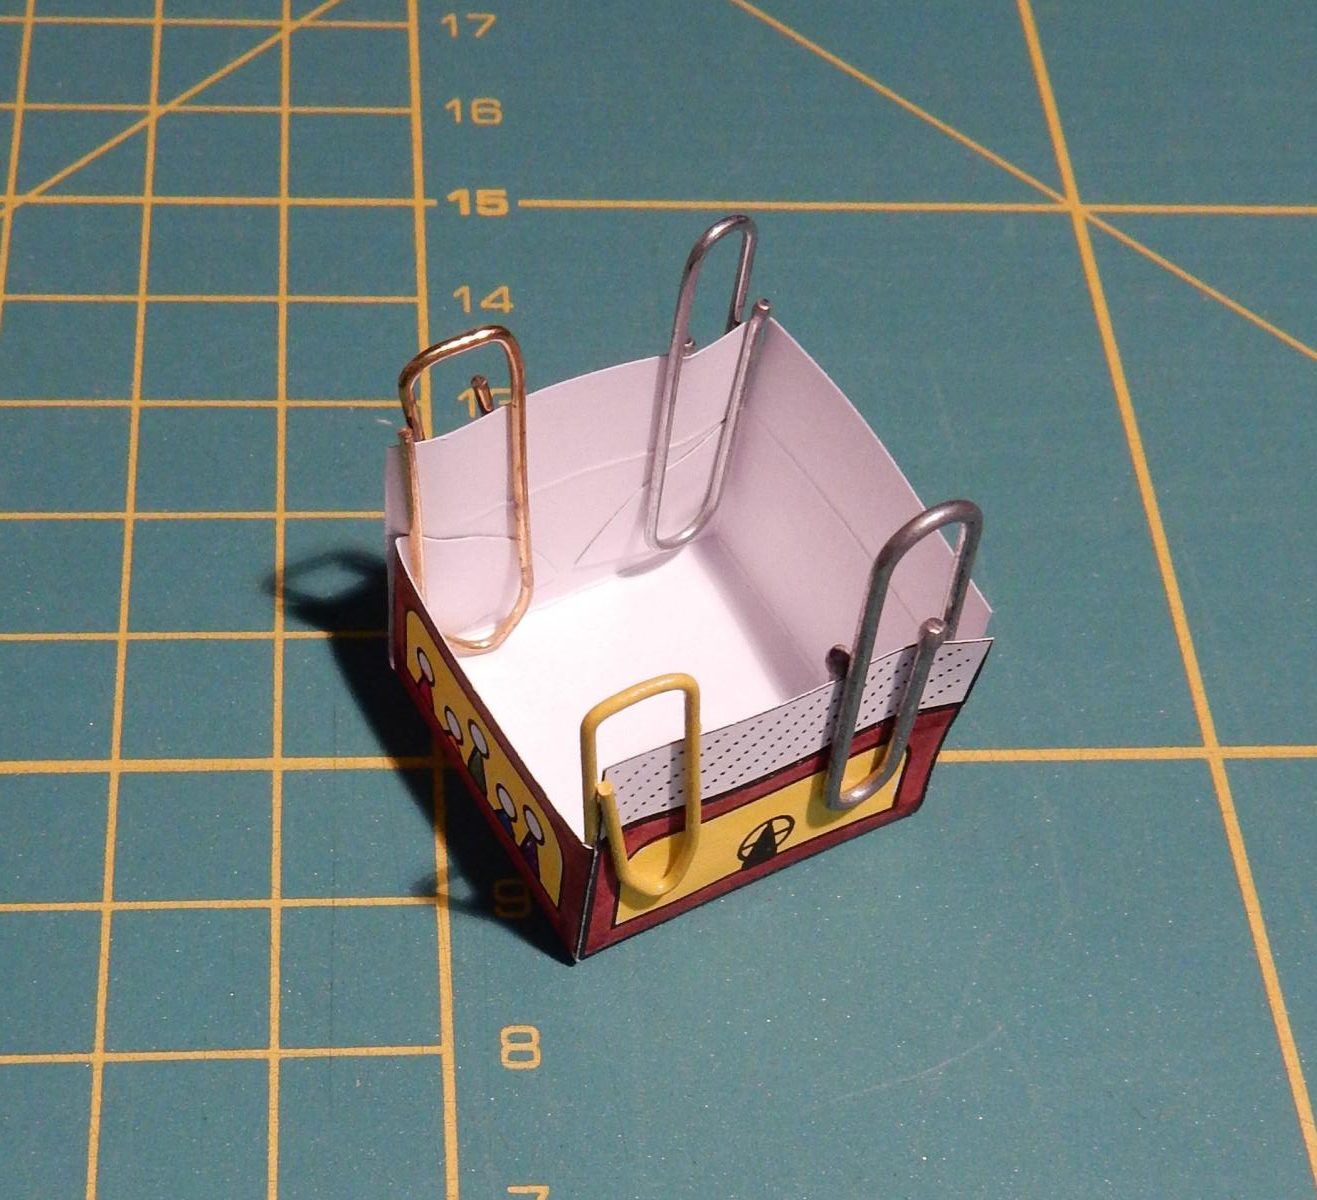
Step 5 – Glue. Glue the sides of the gondola together to make a little box. Paper clips are useful to hold the box together while drying.
When gluing the balloon, start by making two halves, then let this dry.
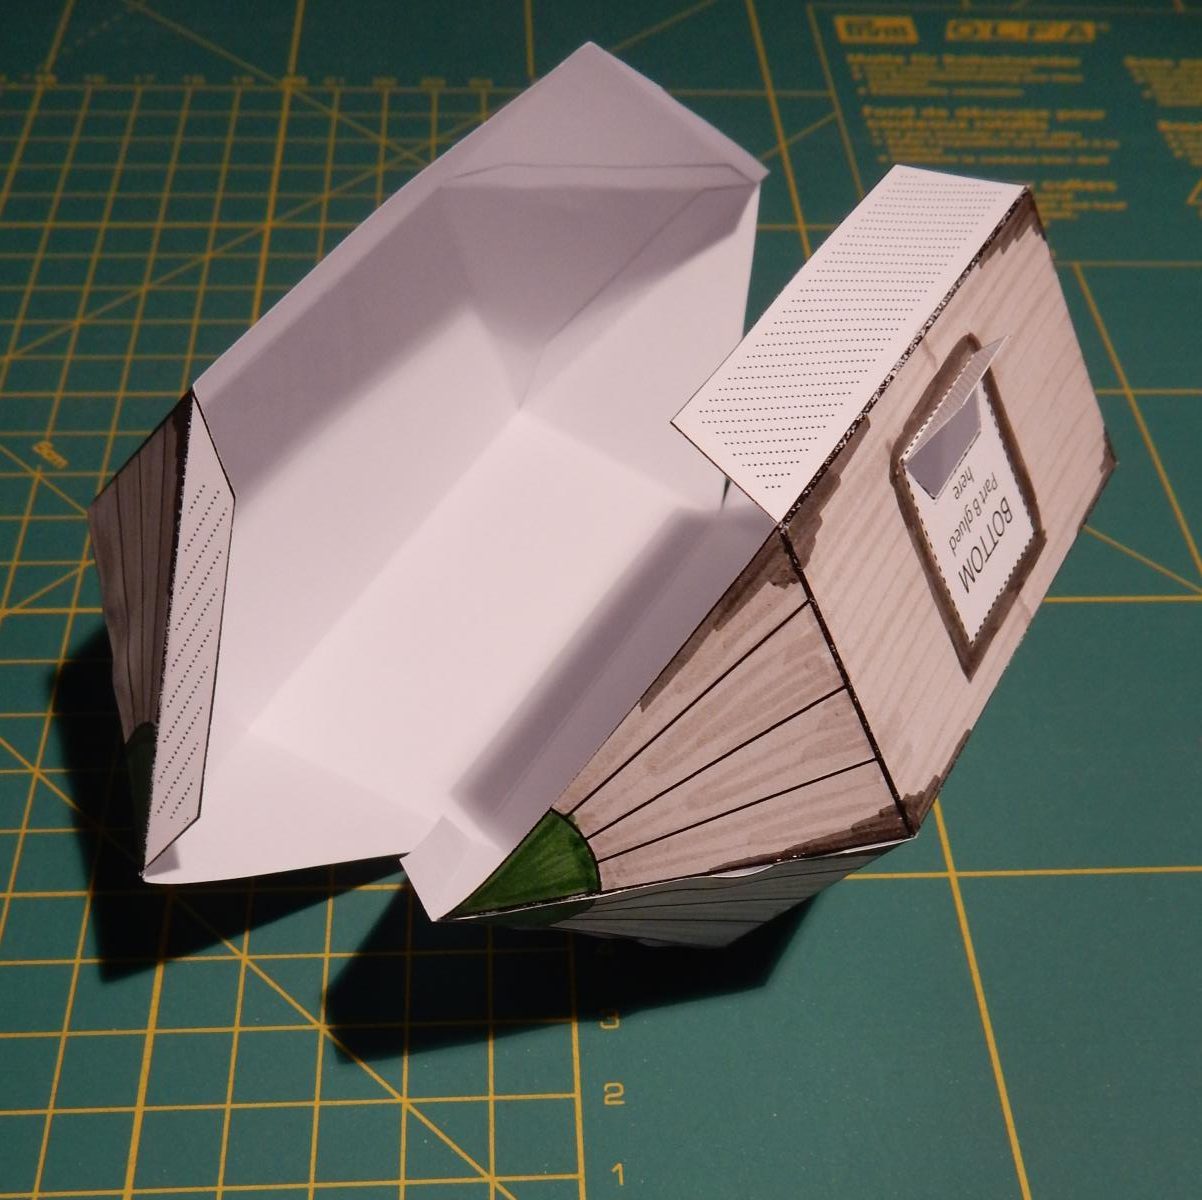
Now glue the halves together, starting with the side opposite the opening. When done, you still can access the inside by pressing the piece together from the tips.
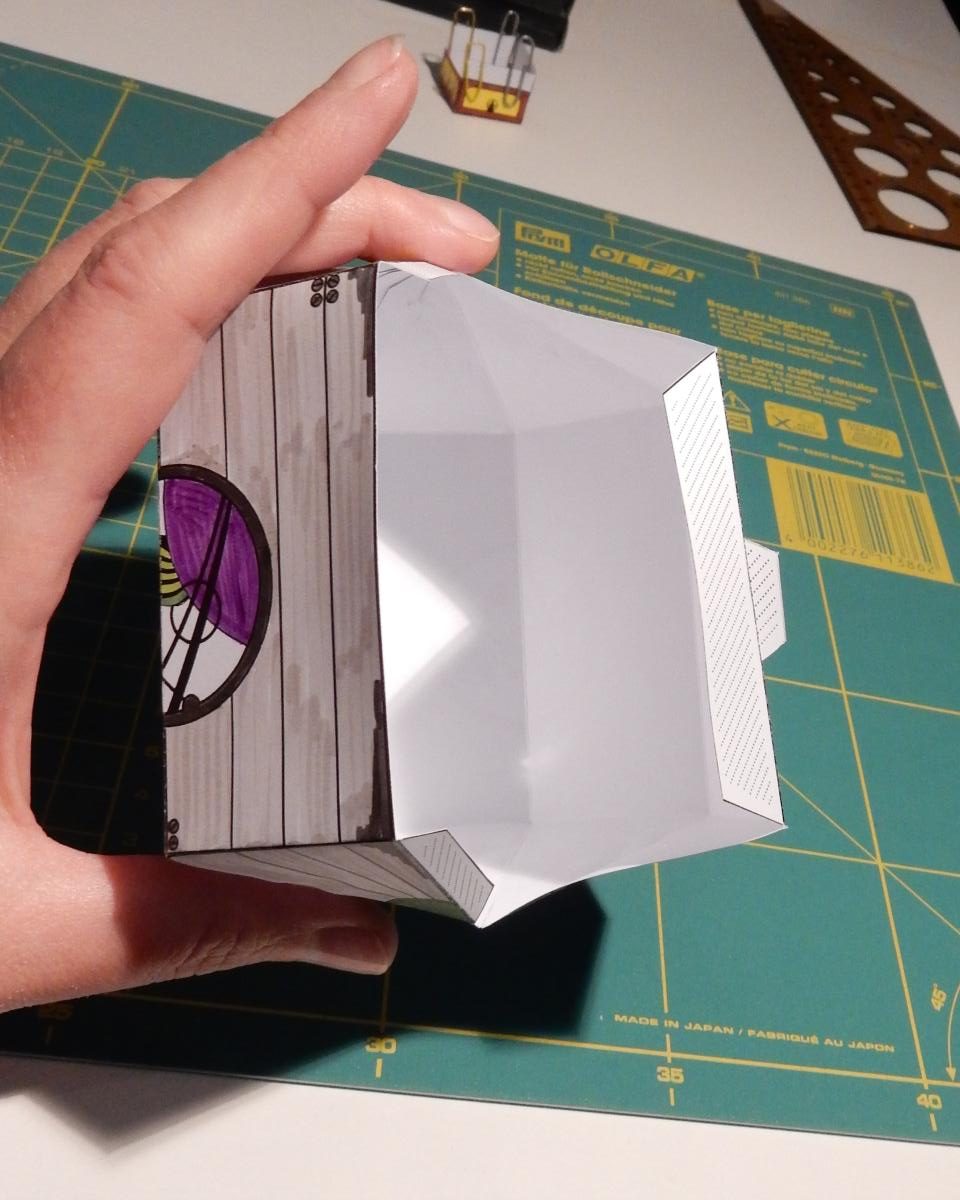
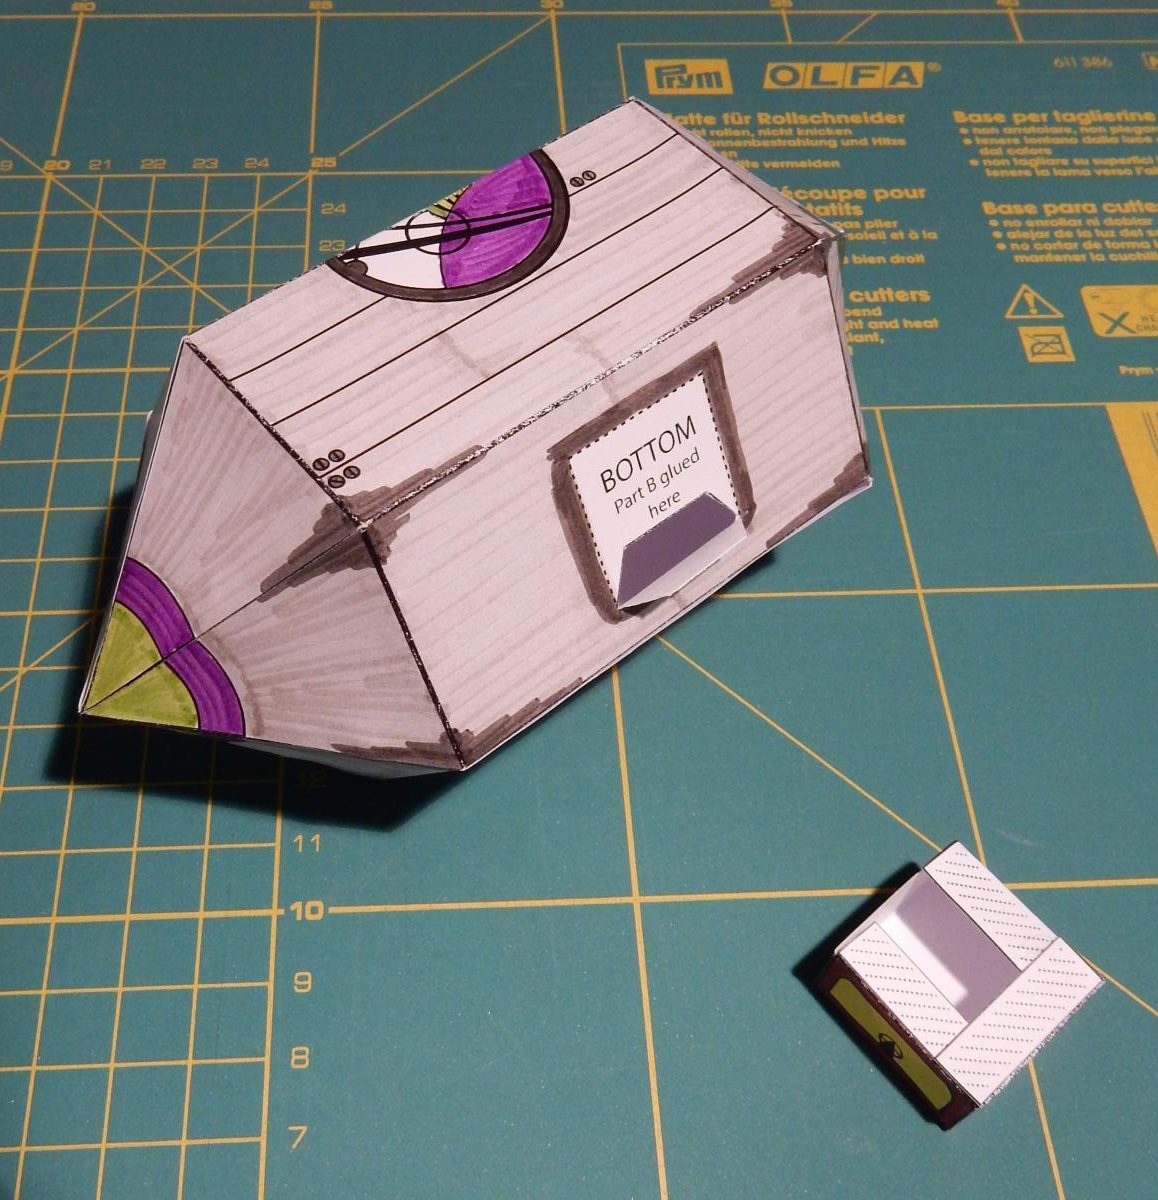
When not pressed, the piece should close automatically. Make sure the three flaps end up on the inside. Apply glue to those flaps and close up the form. Insert a narrow tool through the hole at the bottom to apply pressure to the flaps from the inside against your fingers on the outside to make sure the flaps get glued on.
Now we only have to connect the two pieces. First, fold the flaps on the gondola inwards and glue them together at the corners. This stabilises the box.
Now, apply glue to the outside of the flap at the bottom of the balloon, and slide it into the open side of the gondola.

Apply glue to the flaps of the gondola, press down on the balloon, and you’re done! I used an eraser to put a bit of pressure on the joint to make sure it stays glued:

If you like you can touch up the colours around the edges, and then take your airship on an adventure! Show us where it has been! You can find us under @GlasgowIn2024 on Twitter, Instagram and Facebook. Use #Gin2024Crafts and #AirshipCrafting to share your creations with us!
This article was brought to you by Constanze Hofmann, Craft Co-ordinator, Promotions Team.
We are the Bid Team for Glasgow in 2024 – A Worldcon for Our Futures. We are part of the vibrant Worldcon community. We would love to welcome you to Glasgow and the Armadillo Auditorium for the 2024 Hugo Awards. Please consider supporting us.